How to Mint an NFT on our Cardano Marketplace
Listing NFTs and Discovery
Withdrawing NFTs from Sale (Listing)
How to buy an NFT using Nami and CCVault
Creating a Coinbase Account
Greetings Artanian! Welcome to Artano Walkthroughs, a series of step-by-step guides on how you can set up your Artano account!
This particular guide will focus on opening an exchange account at Coinbase. We are in no way correlated to them, but we found that most of our users use coinbase to exchange fiat for crypto. We’re more than happy to help you succeed as an artist or a collector on our platform, so if you have any questions, do not hesitate to ask us!
In order to mint (upload) artworks on Artano, or buy pieces, you will have to exchange fiat currency (USD, EUR…) for ADA (Cardano’s currency).
Here’s a step-by-step guide on how to successfully open an exchange account.
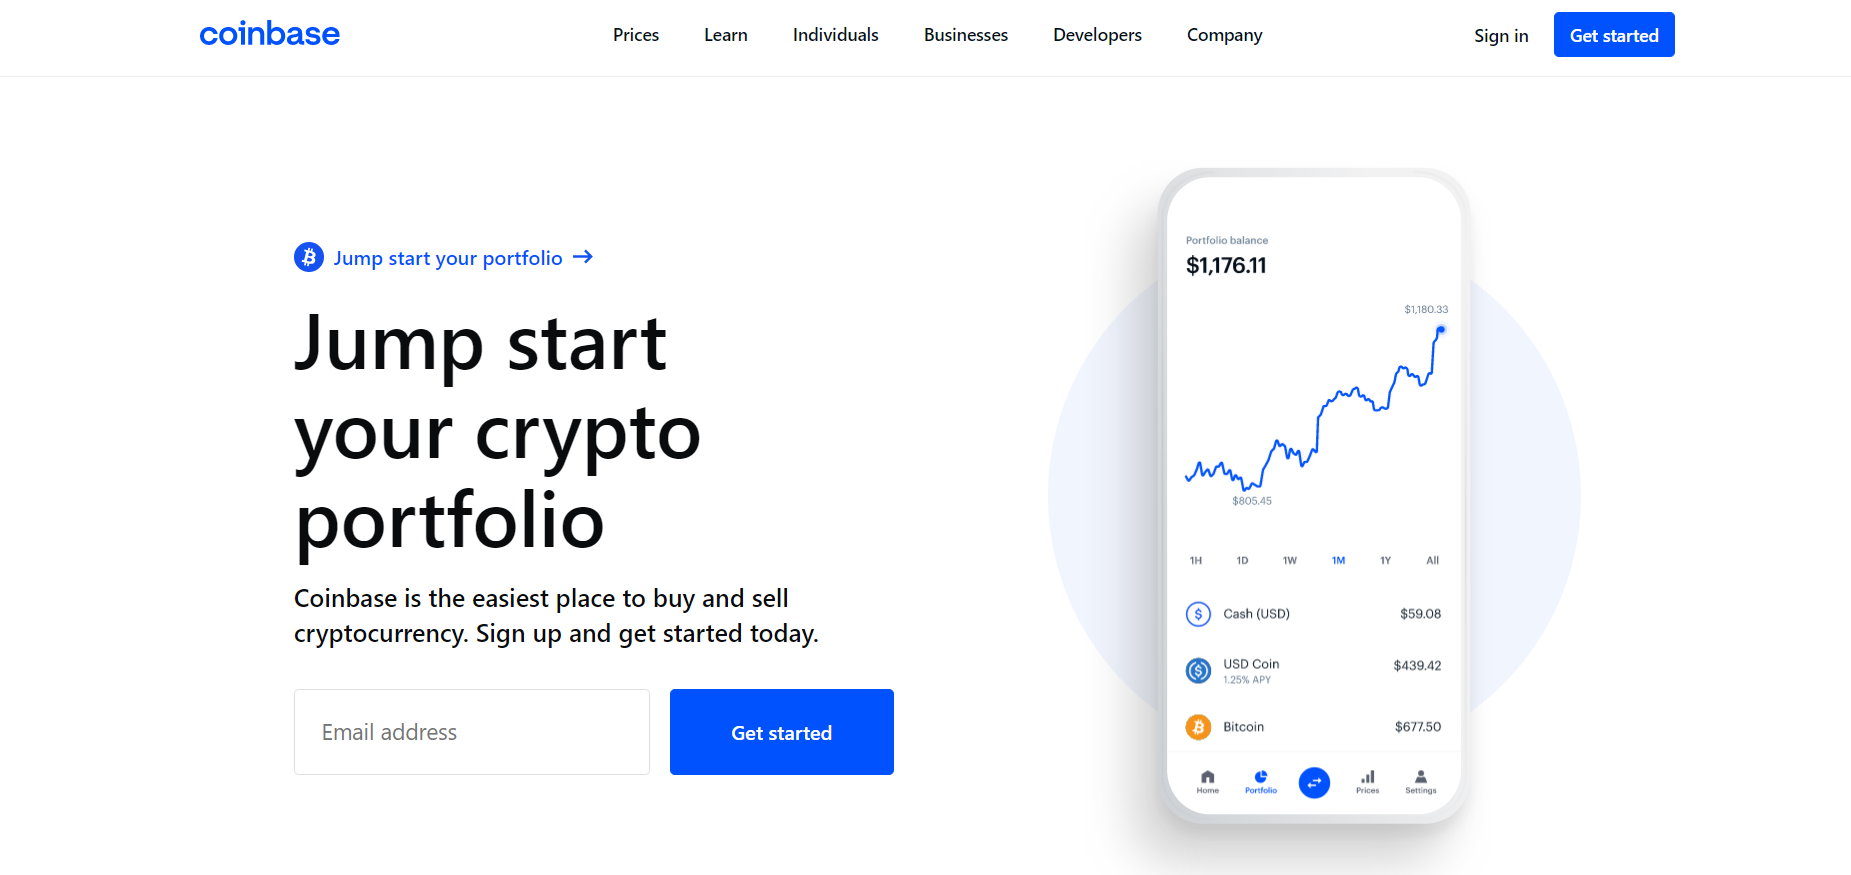
Step 1
Go to Link and select “Get Started”
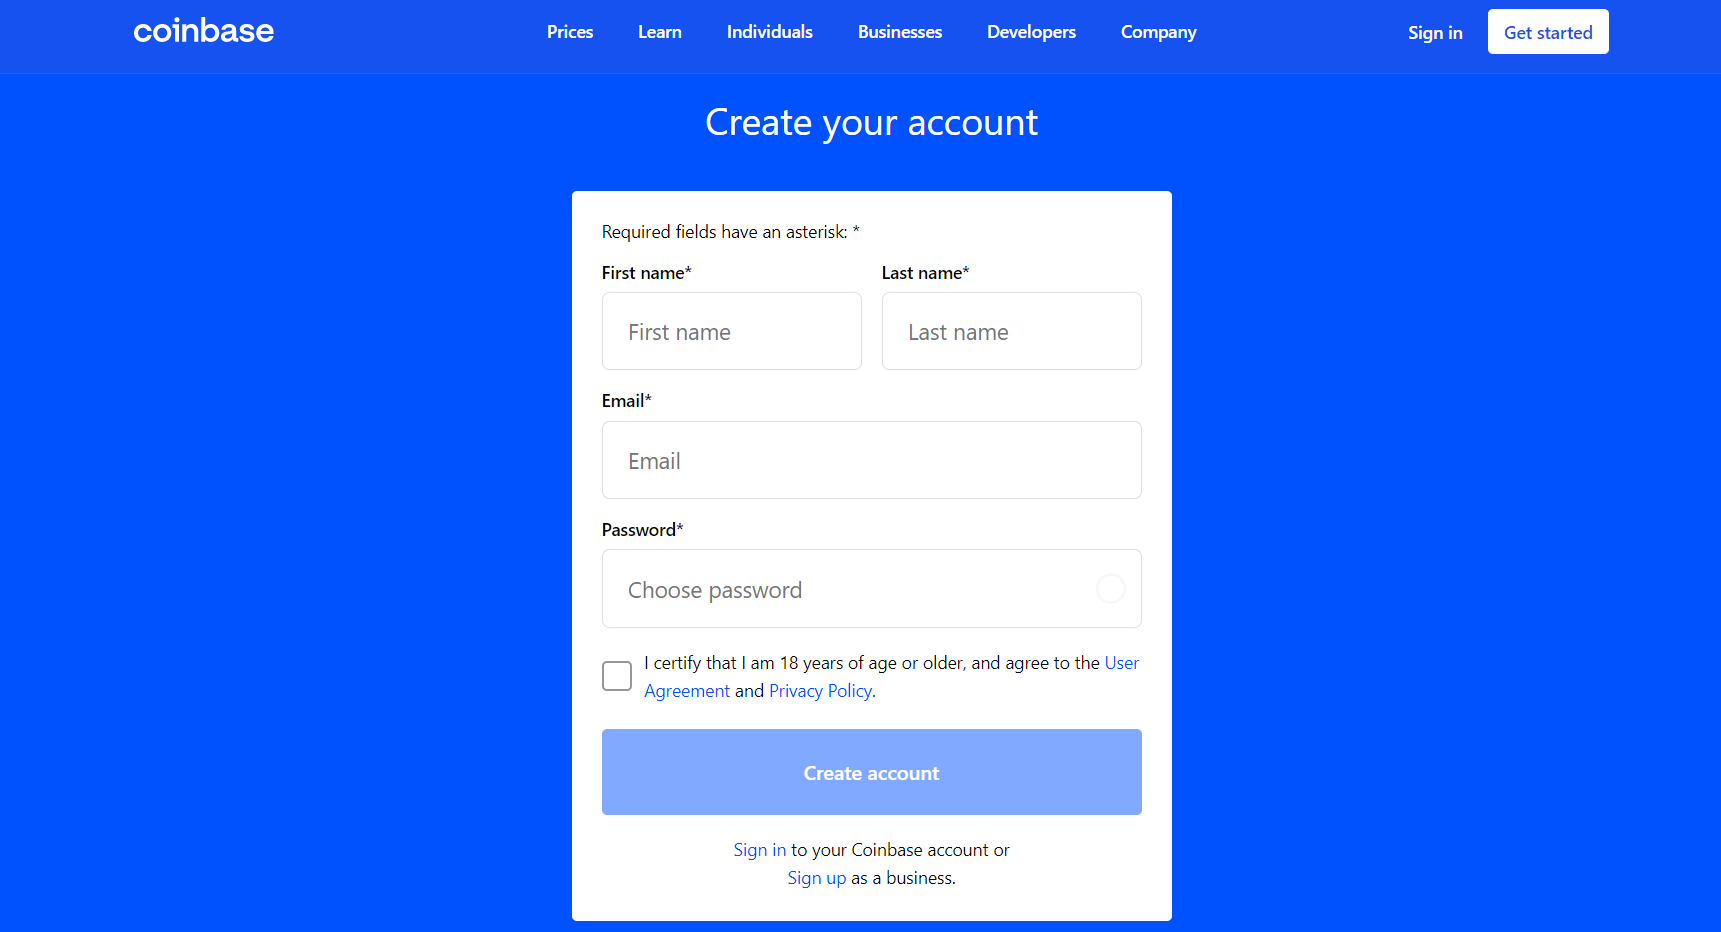
Step 2
Fill in your information, first name, last name, email account, type in a strong password and confirm that you agree with User agreement and Privacy Policy. Then click on “Create account”.
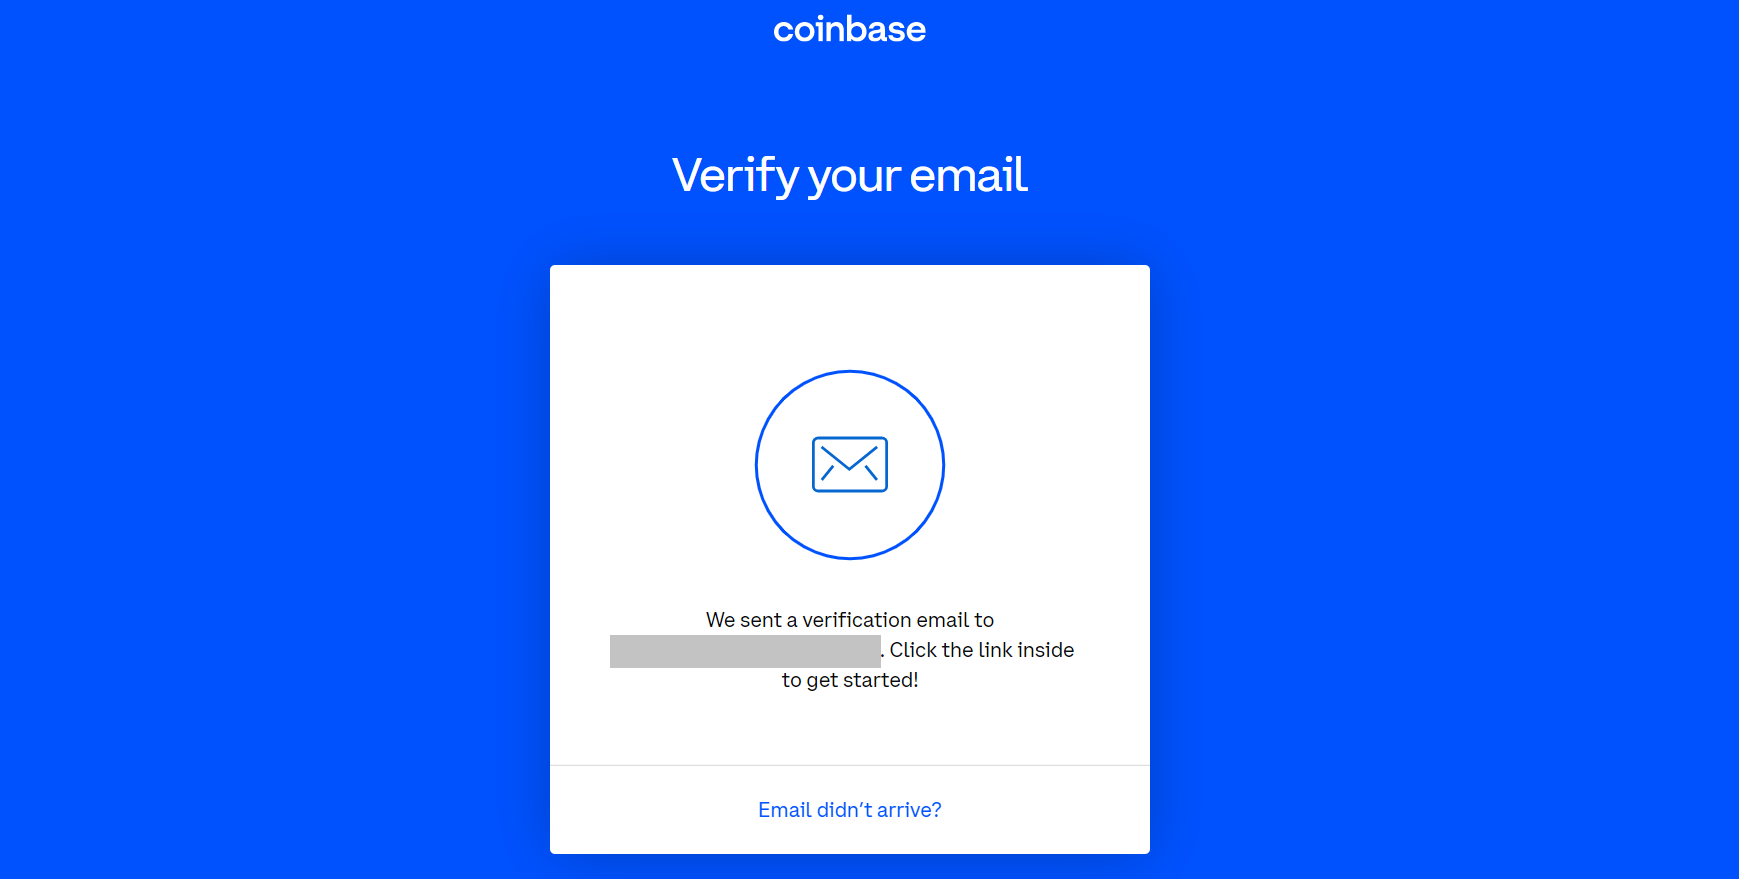
Step 3
You will receive an email from Coinbase to the email address you provided on the previous screen. Go to your inbox, open the email from Coinbase and verify that it is the address you would like to sign in with.
Step 4
Set up two step verification and add a phone number for added security.
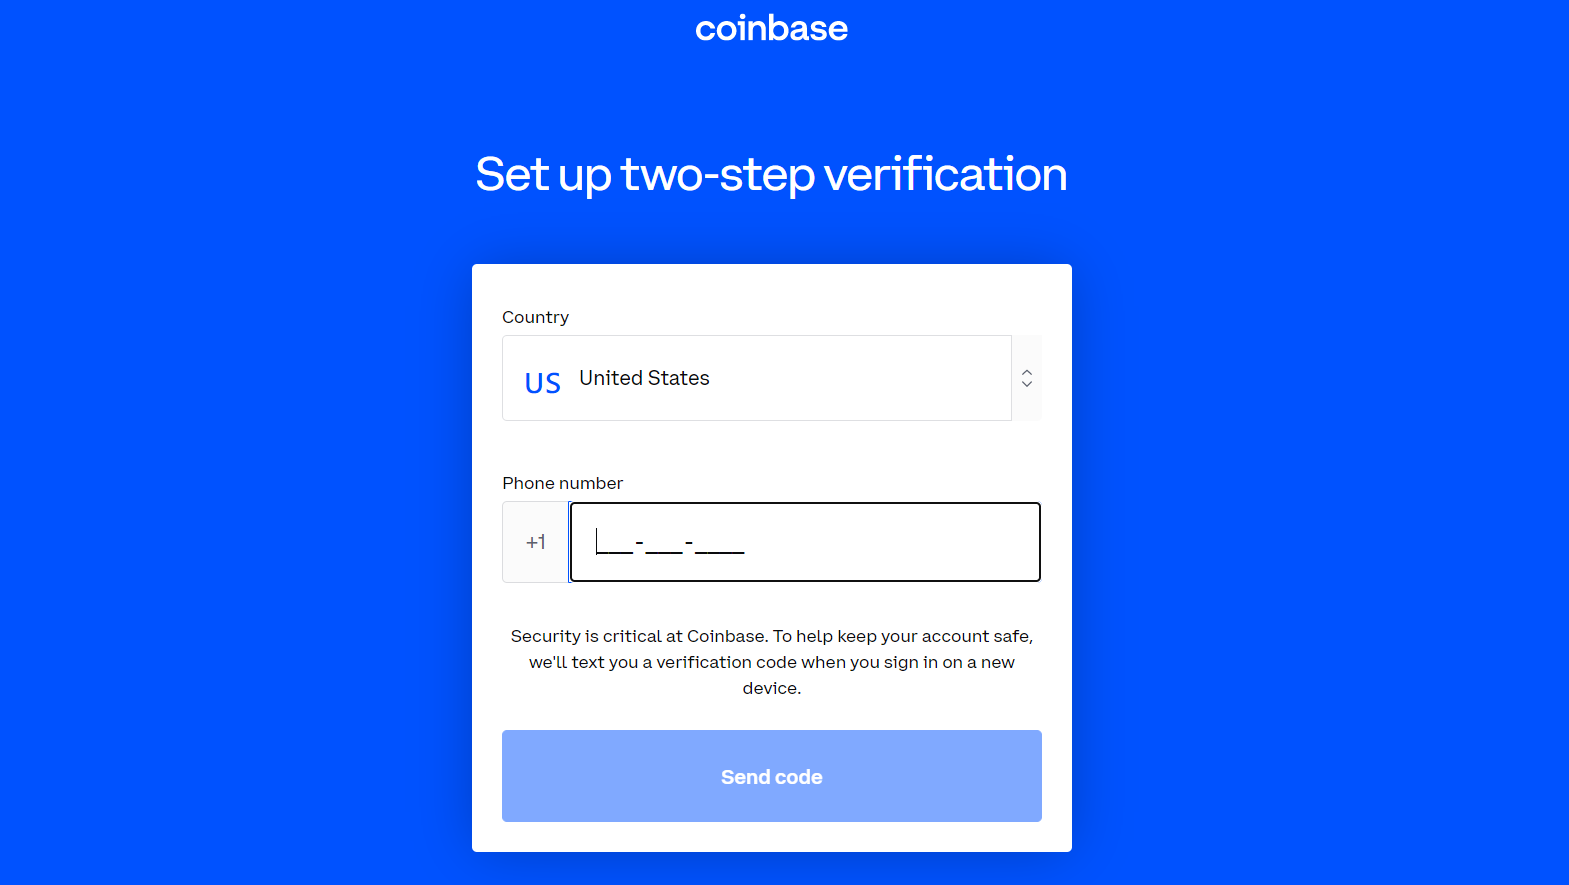
Once you receive the code on your mobile phone, type it in on the next screen and click submit.

Step 5
Connect your Coinbase account with your bank card so you can easily transfer fiat currency to your Coinbase account.
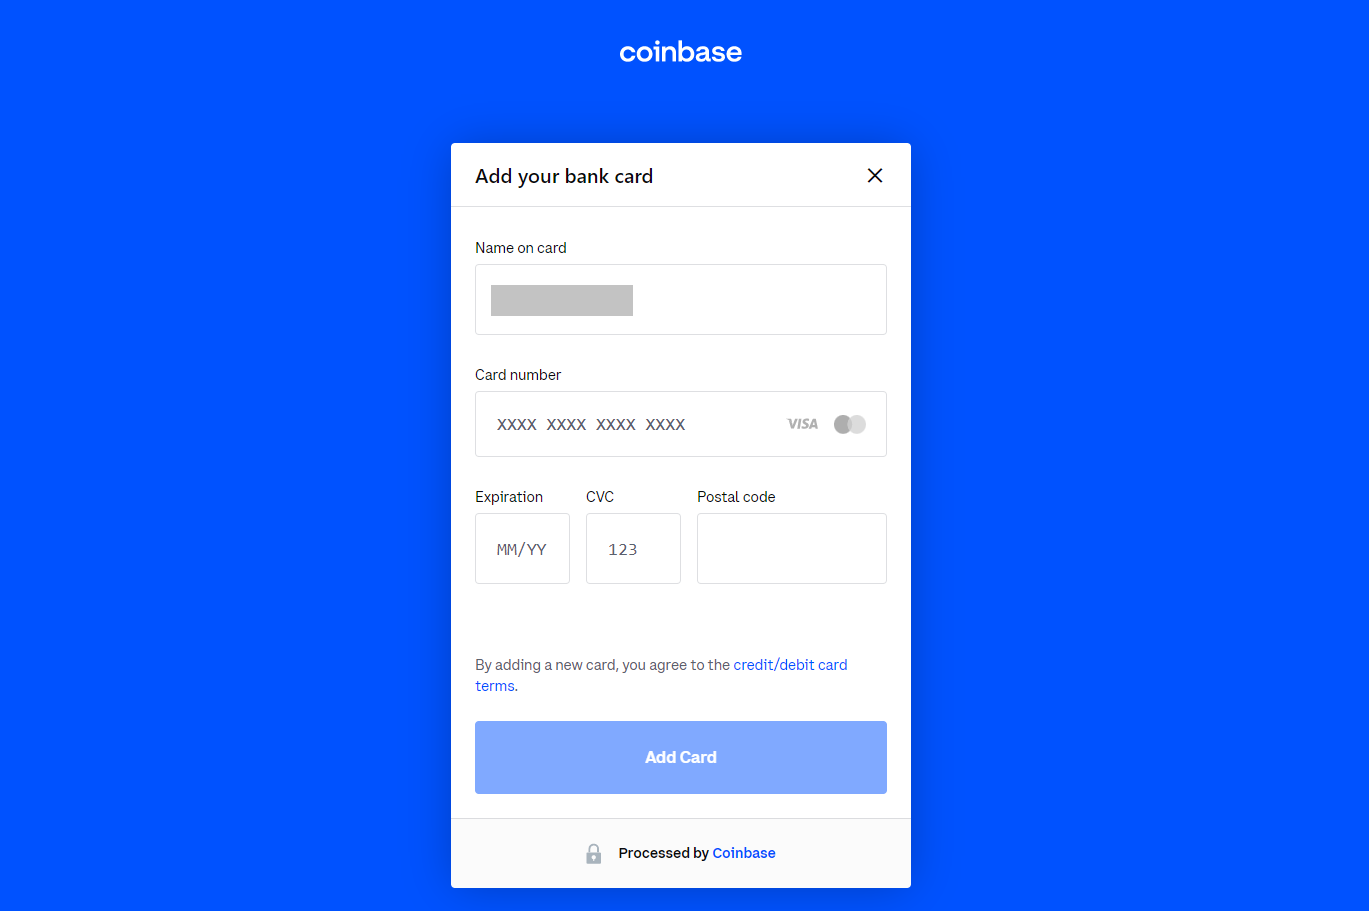
Make sure that the name on the card matches the name with which you registered on Coinbase. Type in the card number, expiration date, CVC and Postal code, then click on “Add Card”
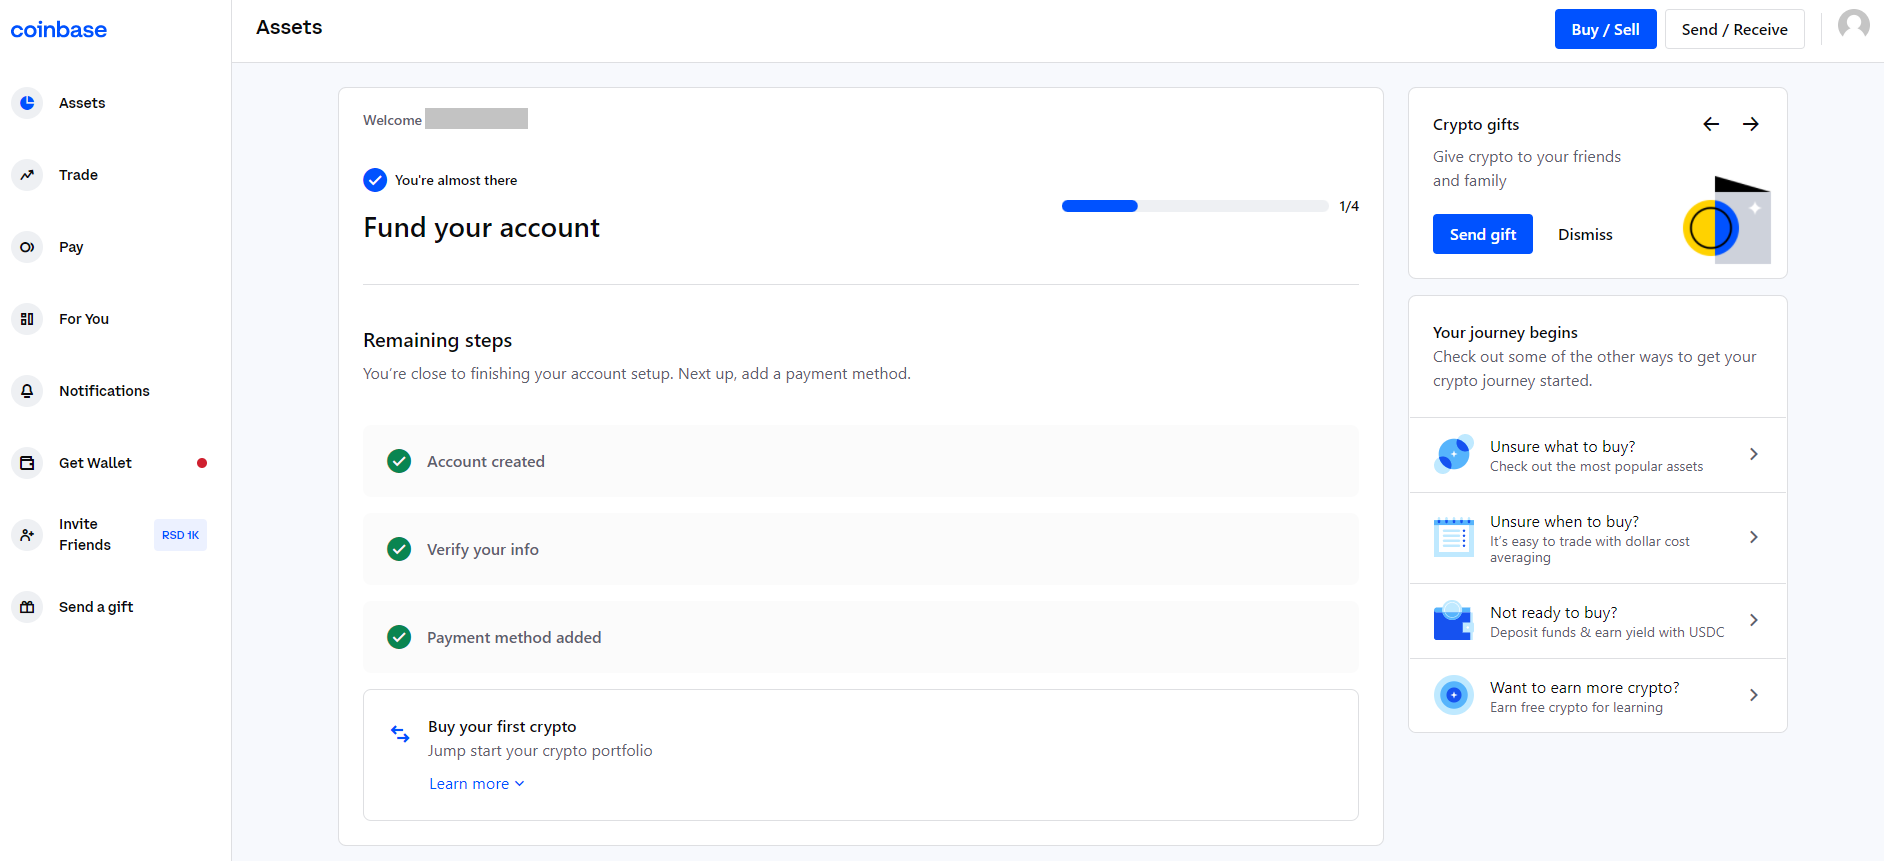
Now you have successfully created an account on Coinbase!
Before you go on to purchase cryptocurrency, you have to verify your identity.
Step 6
To verify your identity simply click on “Buy/Sell” in the upper right corner of the screen. This will bring up a pop up window asking you to verify your identity before you purchase cryptocurrency.
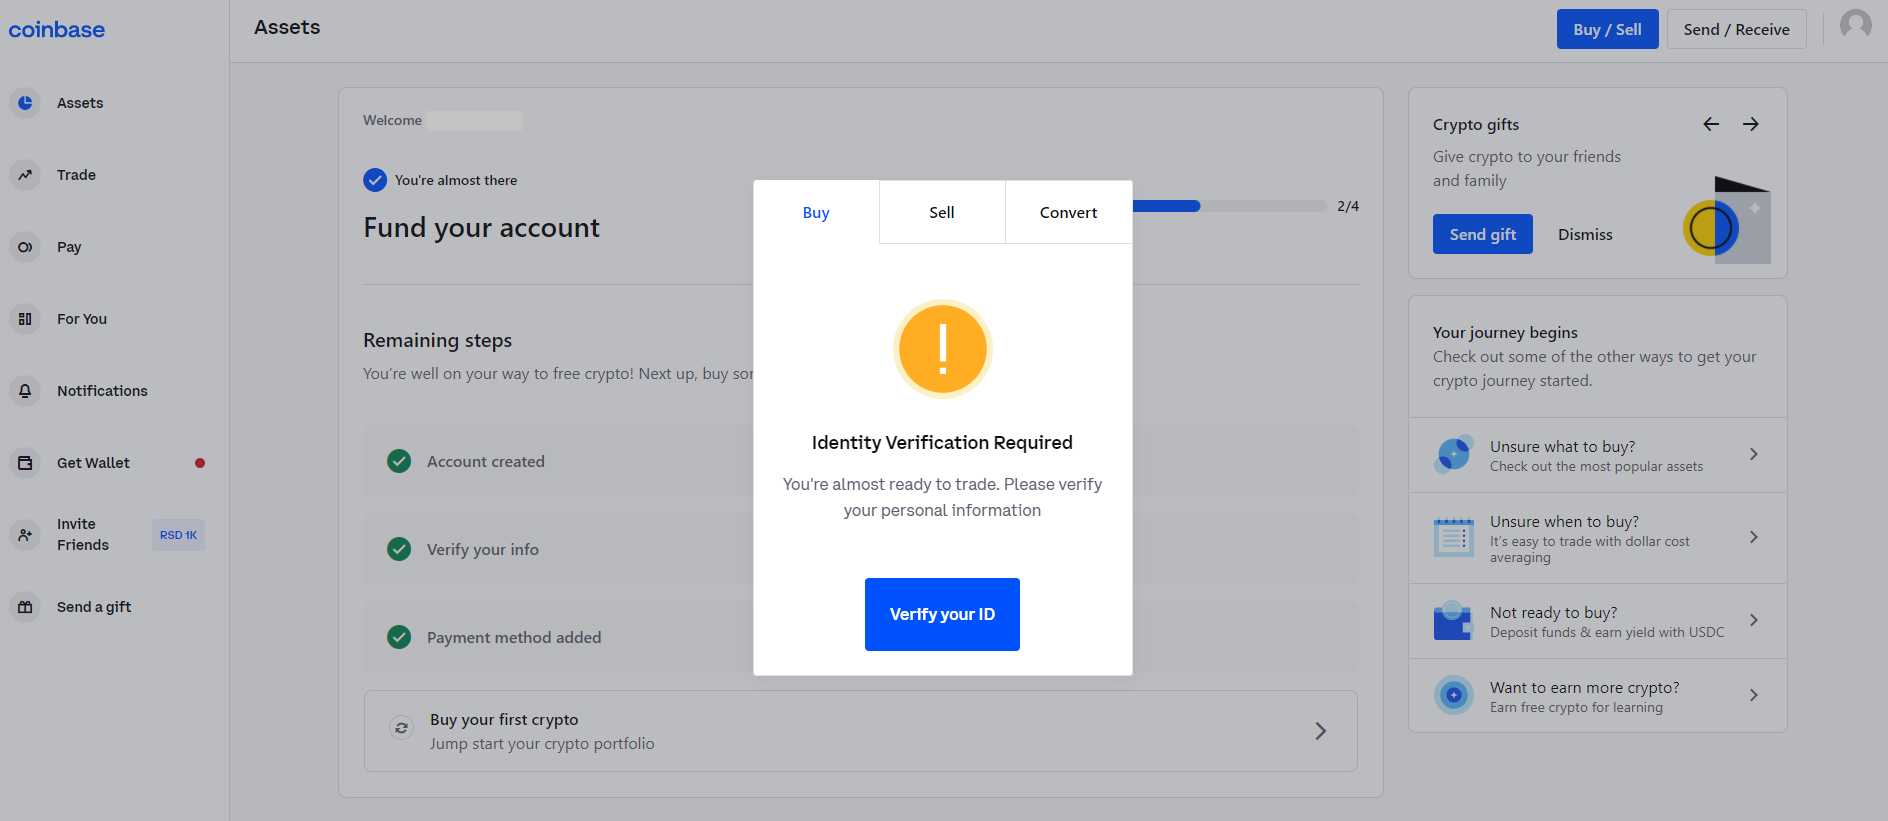
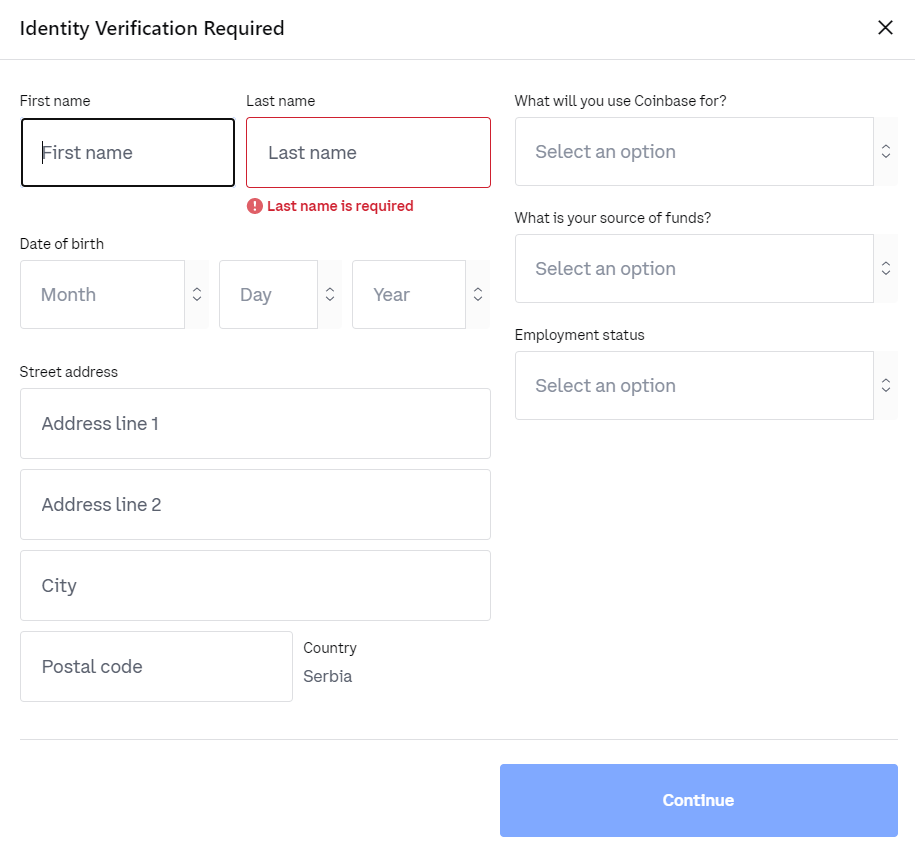
Select “Verify your ID” and fill in the form that comes up regarding your personal information, reasons for using Coinbase, source of funds, employment status and once you’re done filling out the form select “Continue”.
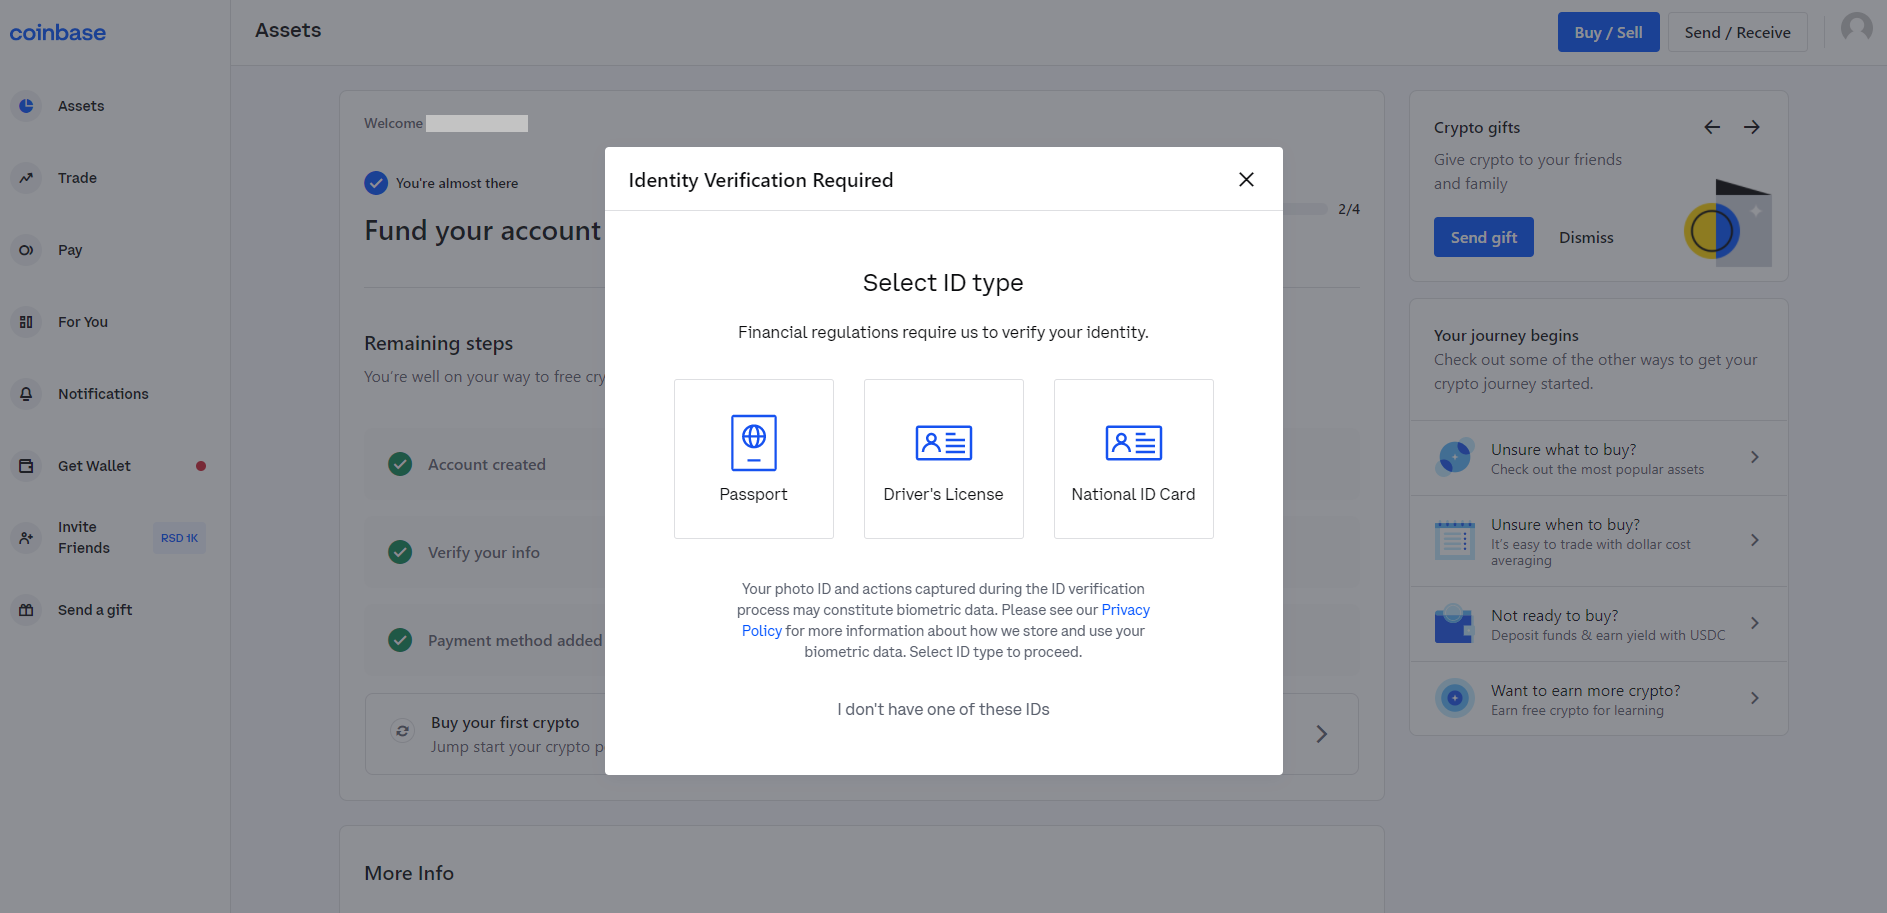
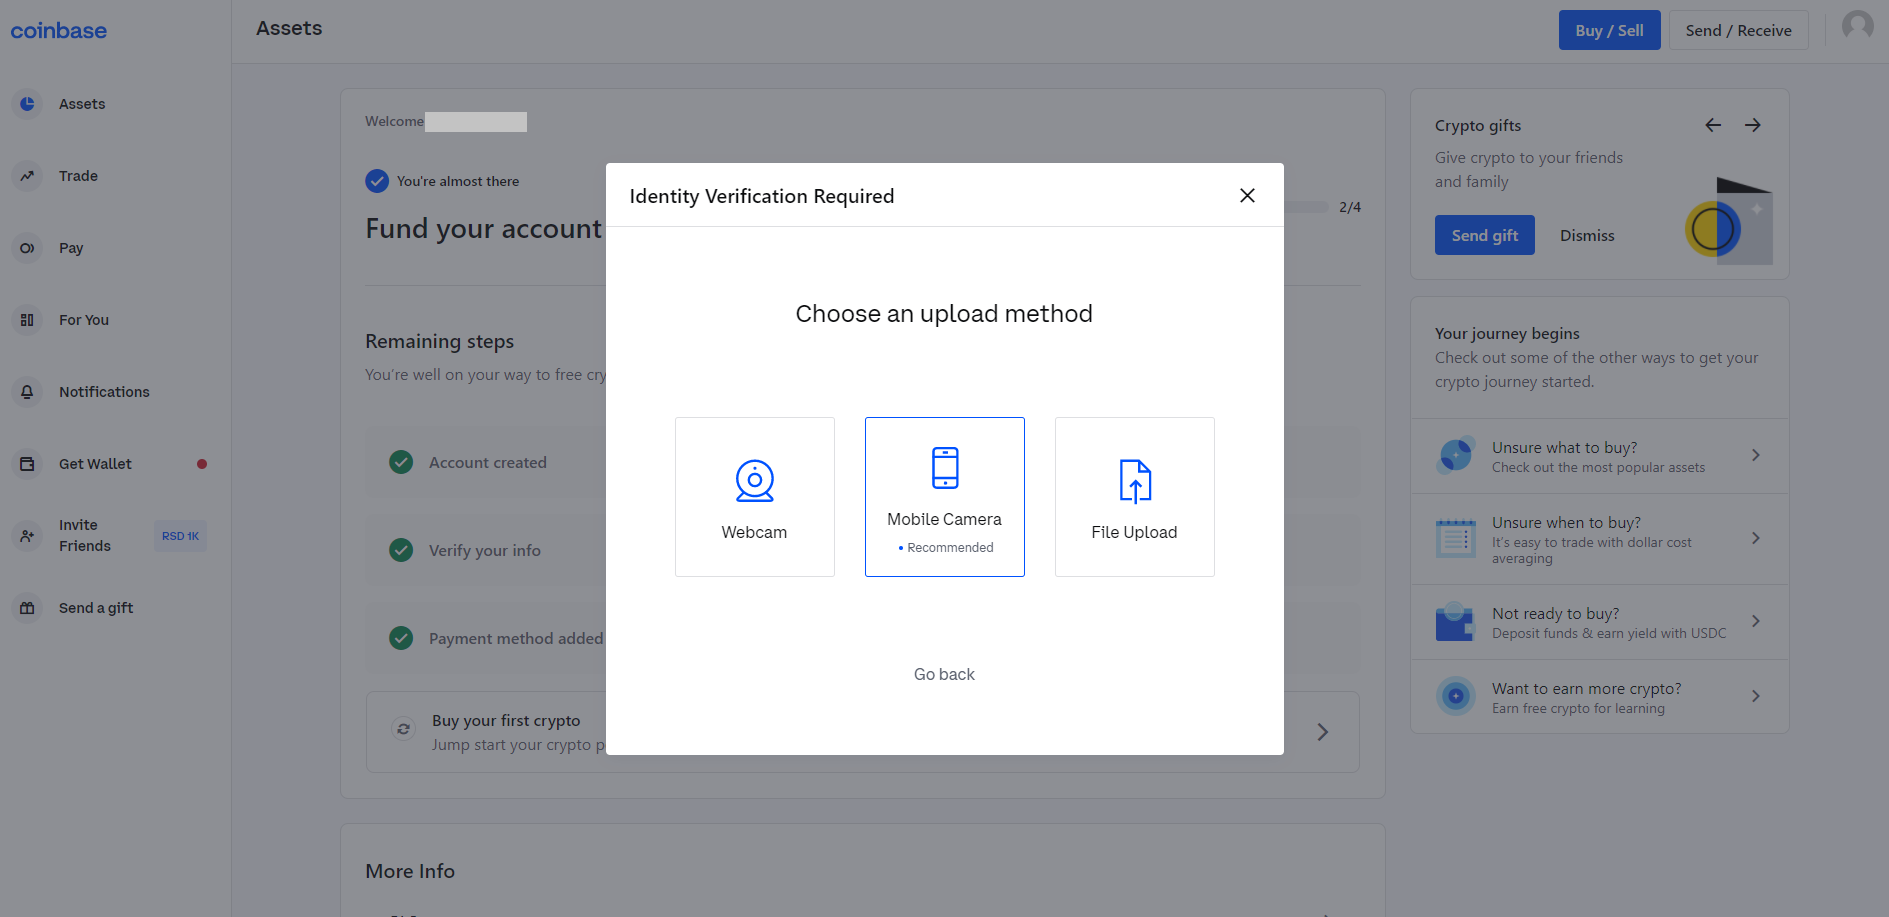
The next step is to select the ID type you would like to use during the verification process and then choose a device on which you would like to continue the verification process.
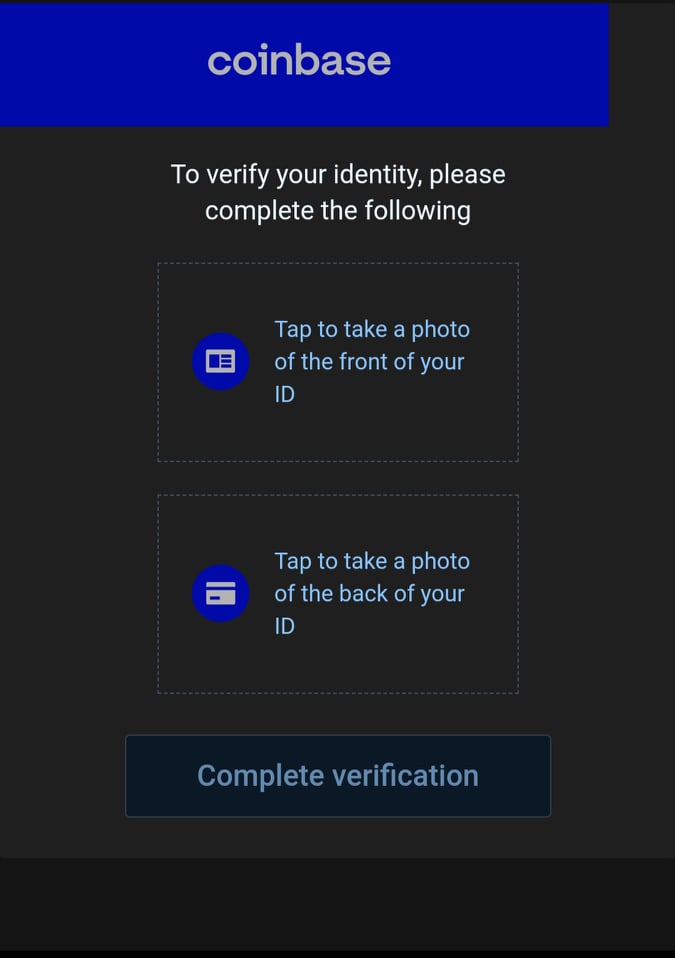
If you’re using a mobile camera to complete the process, you will receive a link in a text message on your phone.
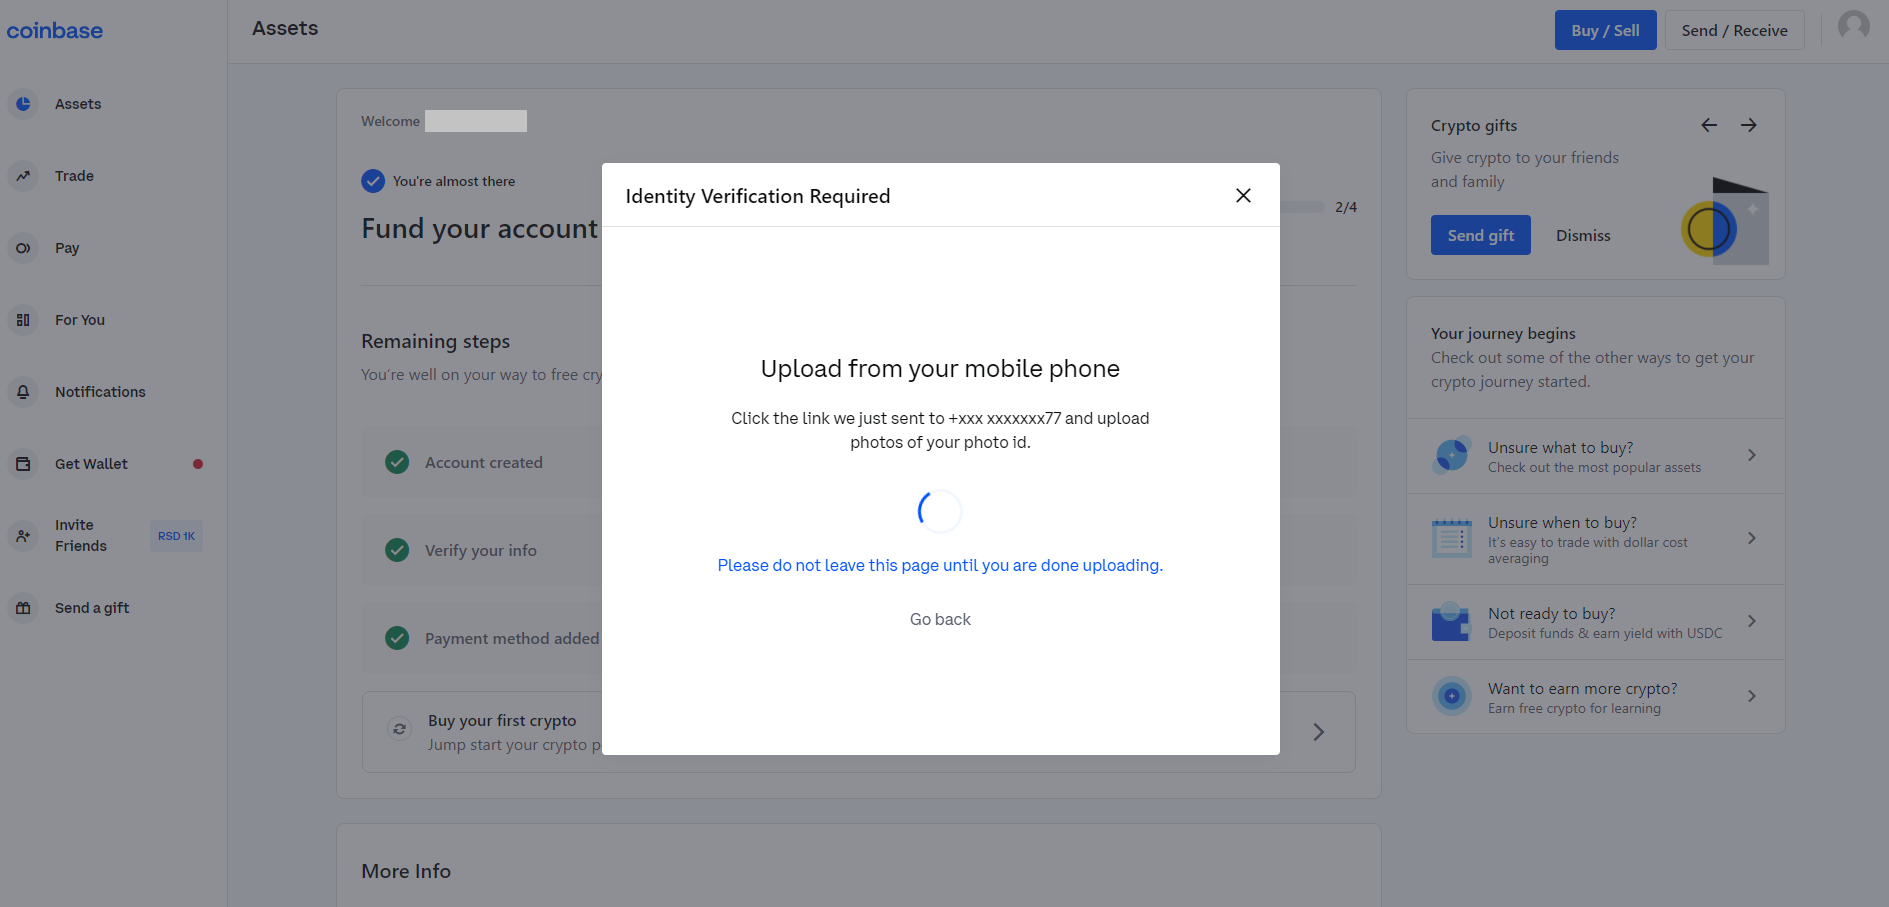
Click on the link and it will take you to a window where you can complete the verification process. Follow the instructions on the screen. Take a photo of the front of your ID and the back of your ID and select “Complete verification”.
On your desktop you will see the following message.
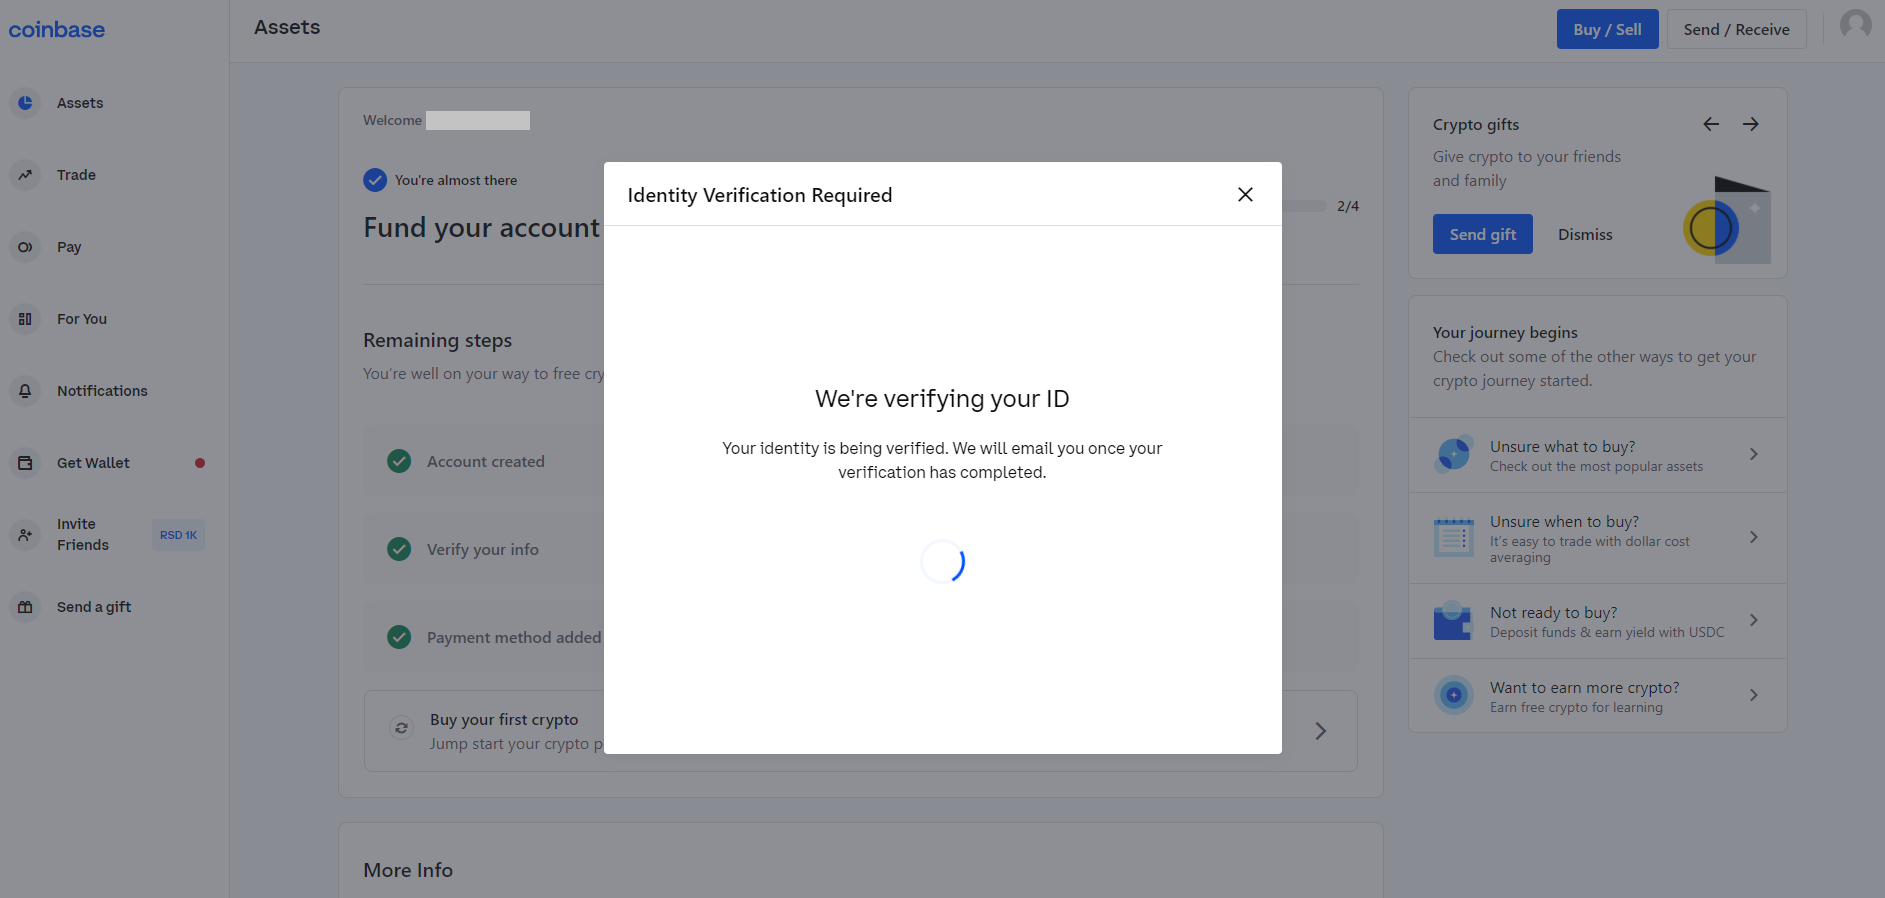
You might wait for an hour or longer until the verification of your ID is completed. After that you are ready to use your Coinbase account to purchase ADA.
Buying ADA on Coinbase
Welcome back fellow Artanian! We’re excited to have you with us today!
This is the second guide in our Artano Walkthroughs series. In this article, we will explain how to buy ADA on an exchange.
After you have created an account on Coinbase, added a bank card, completed the verification of your identity, and received confirmation that your identity document has been verified, you are ready to purchase some ADA.
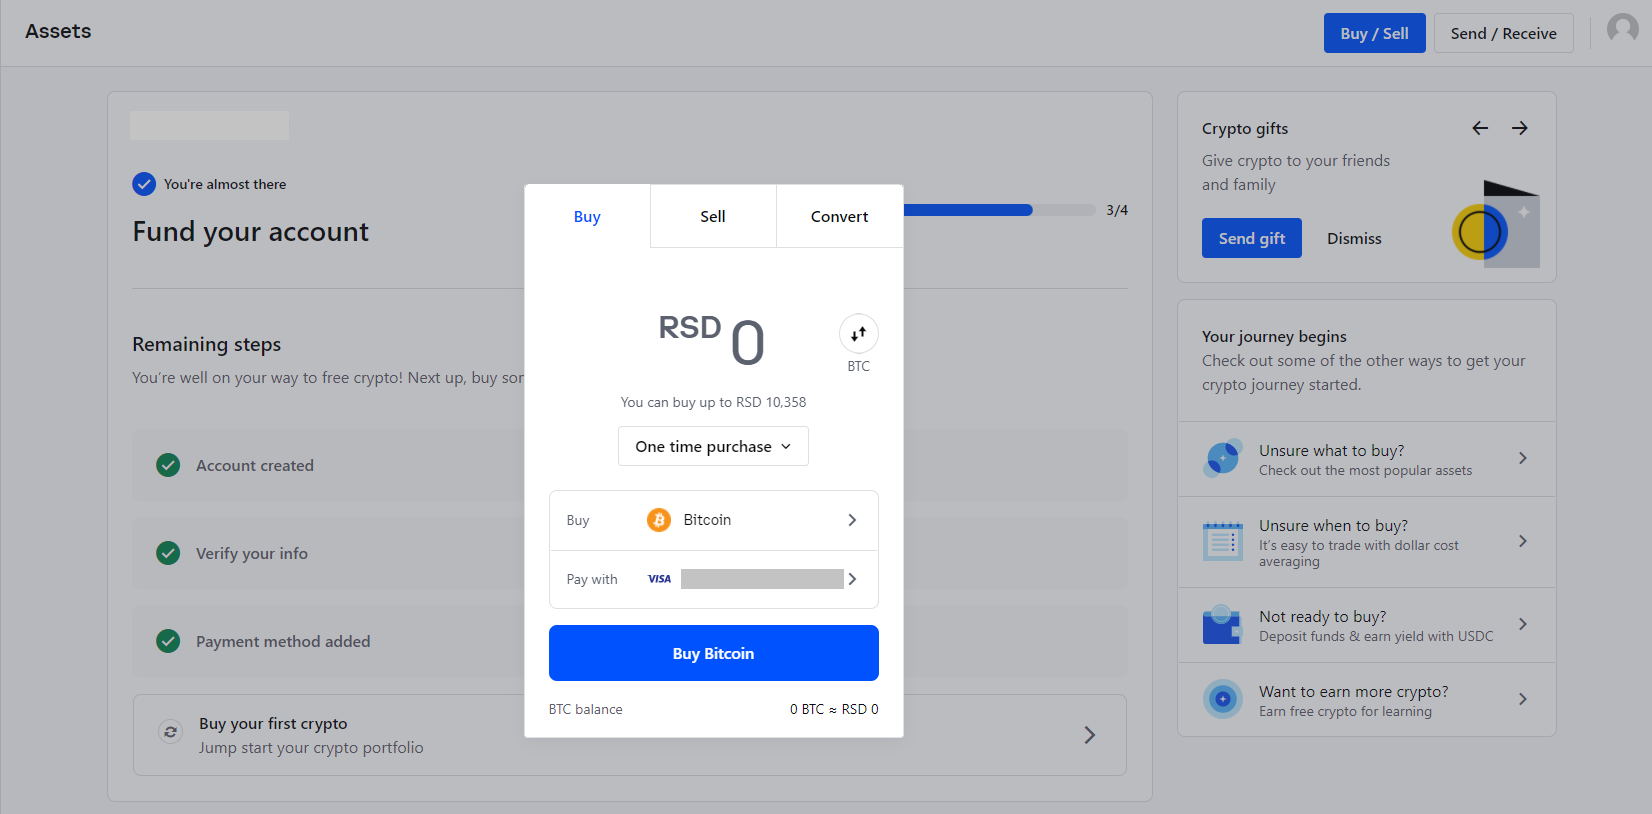
To purchase ADA simply click on “Buy/Sell” button in the upper right corner.
That will prompt a pop up window in which you can decide which currency you would like to purchase. Since you would like to buy ADA, click on the “Bitcoin” field to change the currency you would like to purchase.
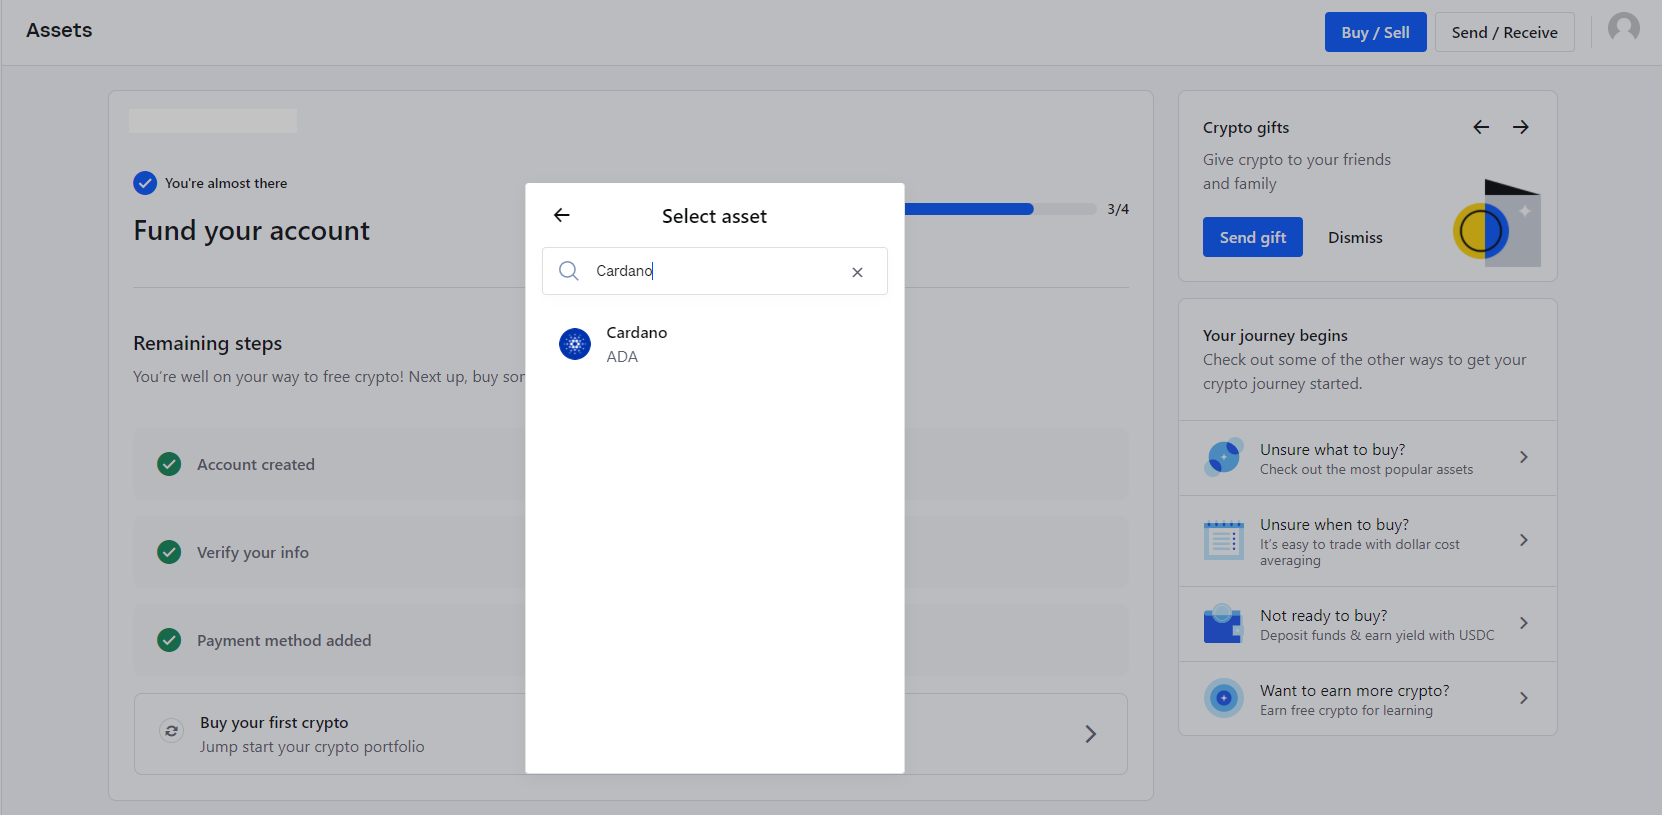
You will see a dropdown of all the cryptocurrencies you can purchase on Coinbase. To make sure you’re buying the right one, type in “Cardano” and click on it to select it.
In the next step you should determine how much of Cardano’s cryptocurrency ADA you would like to buy. You can choose the amount in ADA or in your local currency (USD, EUR, etc.).
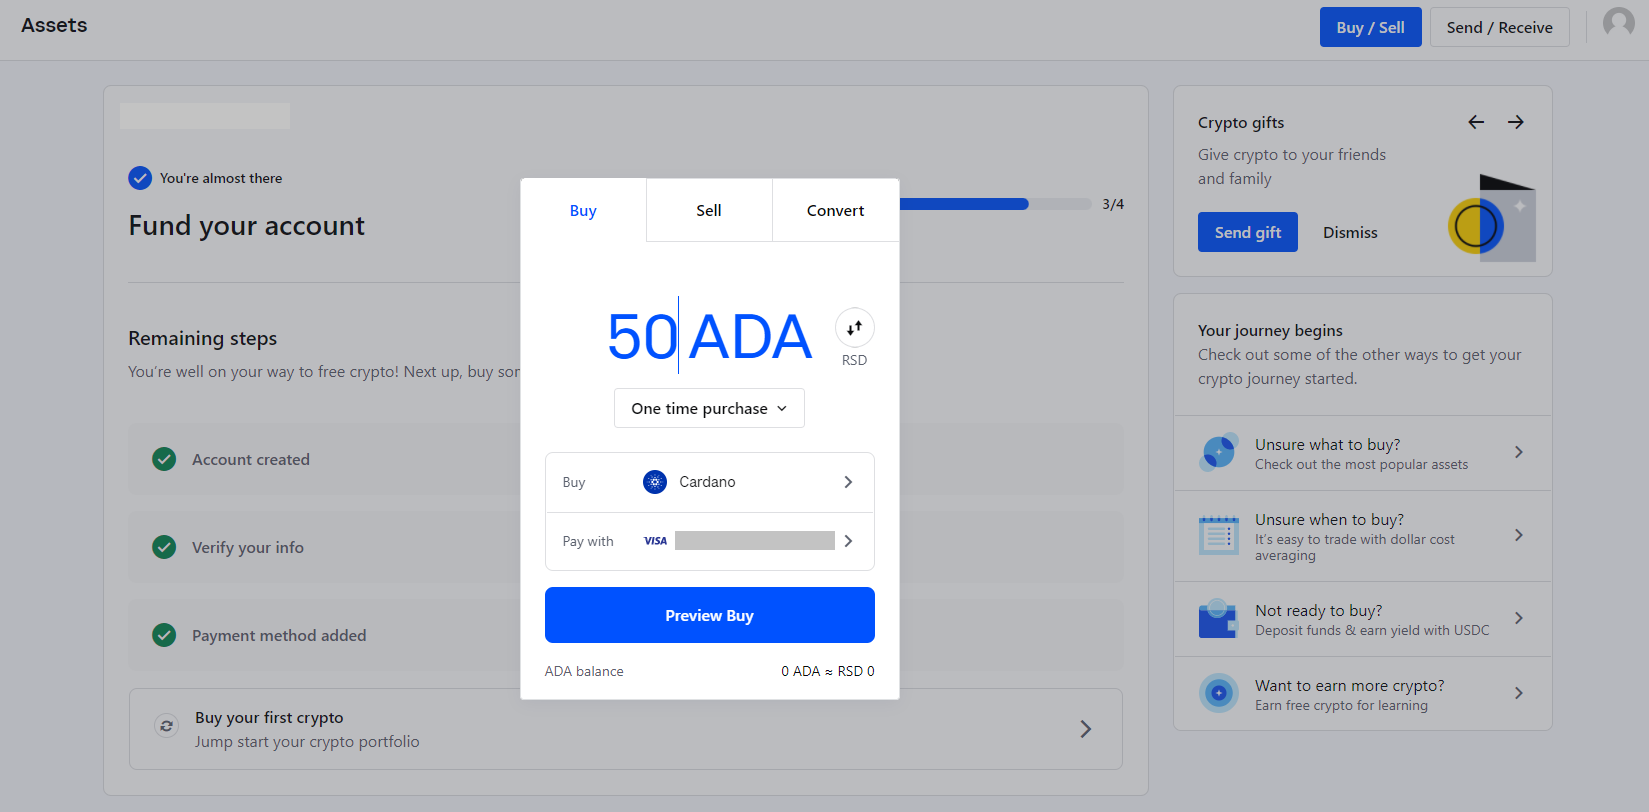
Then select “Preview Buy” for a detailed breakdown of Coinbase fees and the amount of ADA you will purchase after the fees have been deducted.

Create a Cardano wallet - Desktop
How to open up a Nami wallet:
Hello Artanians, this is the third tutorial and one step closer towards being able to fully participate on Artano! By now, we showed you how to create an account on Coinbase (add link to tutorial) and how to buy ADA (add link to tutorial). Now it’s time for you to create a Cardano wallet where you can store ADA and NFTs safely.
Nami is a (as of February 2022) a browser-based, DESKTOP-ONLY wallet for Cardano. We are not sponsored or in an official partnership with Nami, however from the experience of our artists and collectors it is quite easy and simple to work with for NFTs. Nami is also integrated on our marketplace, so if you want the best purchase experience on our platform, we would recommend it. The process of opening other available wallets is quite similar, so we hope you find this short tutorial useful. You can do your research on different wallets, and find the option that suits you the best!
Without further ado, let's begin!
Step 1:
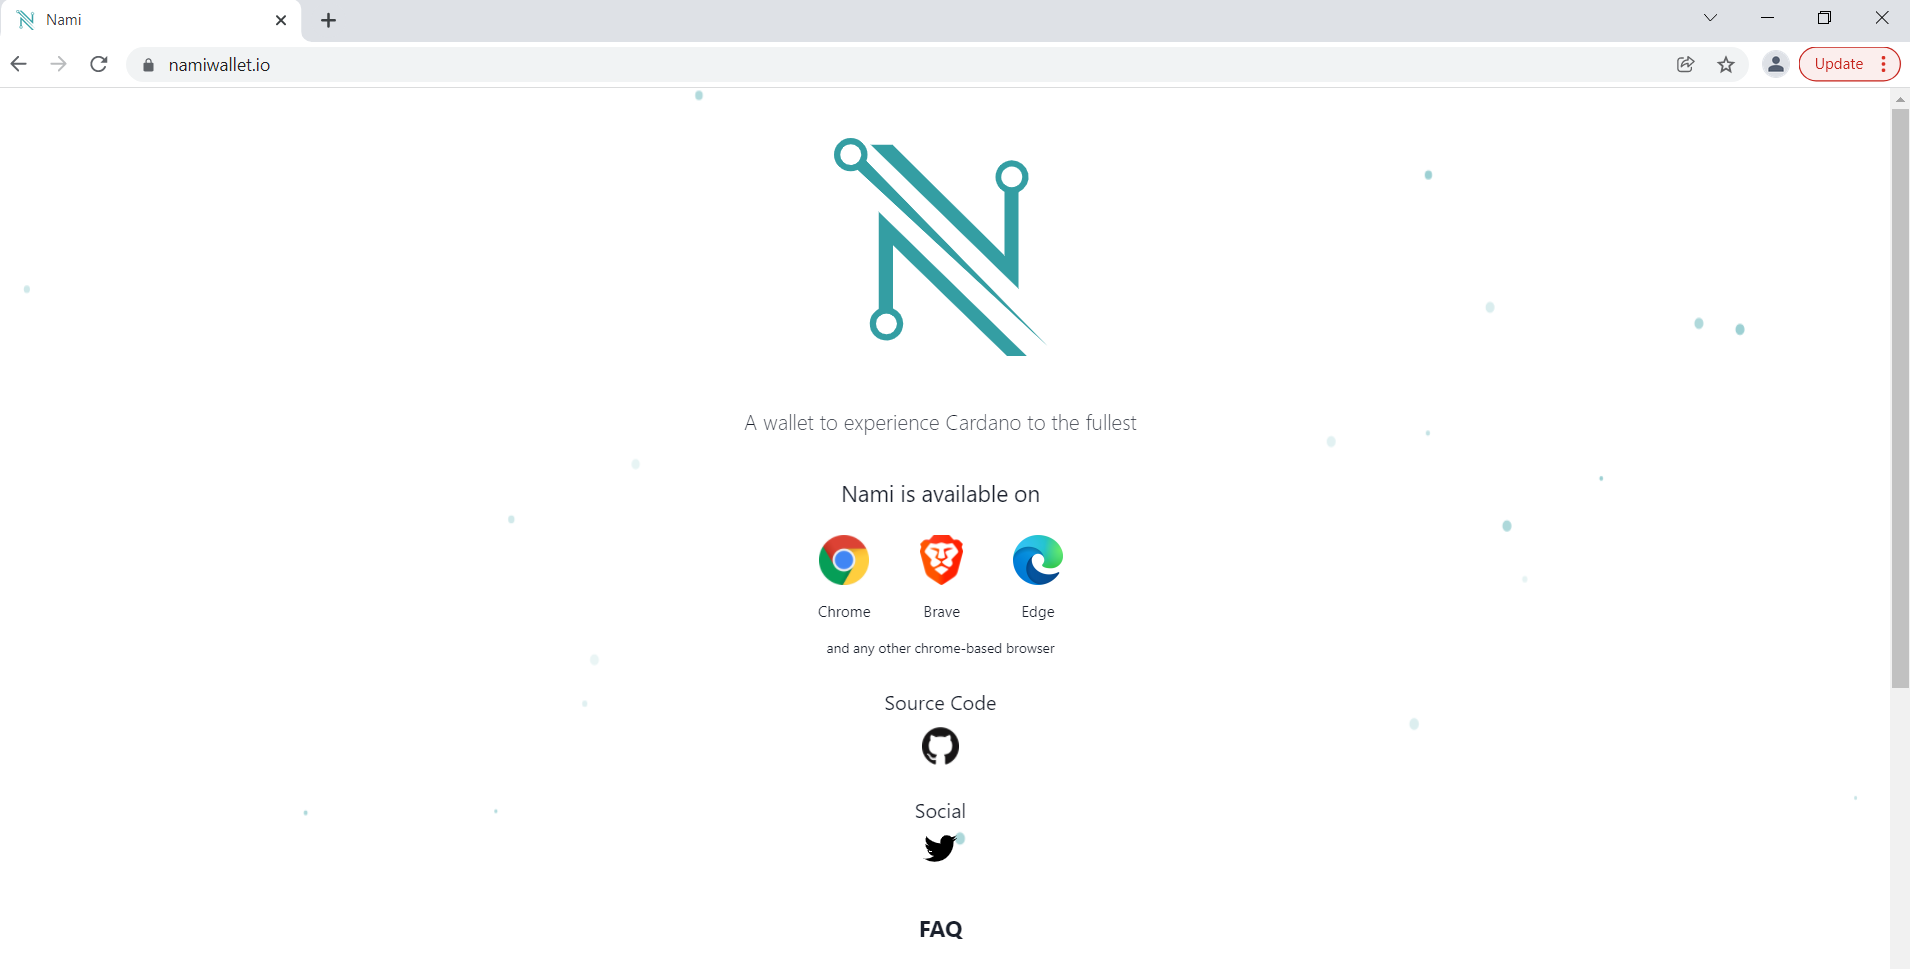
Go to https://namiwallet.io/ and make sure to use trusted links for safety reasons. Nami is currently available for Chrome, Brave, and Edge browsers, as well as any other Chrome-based browser. In this tutorial, we will be showing you how to install it on Chrome.
Step 2:
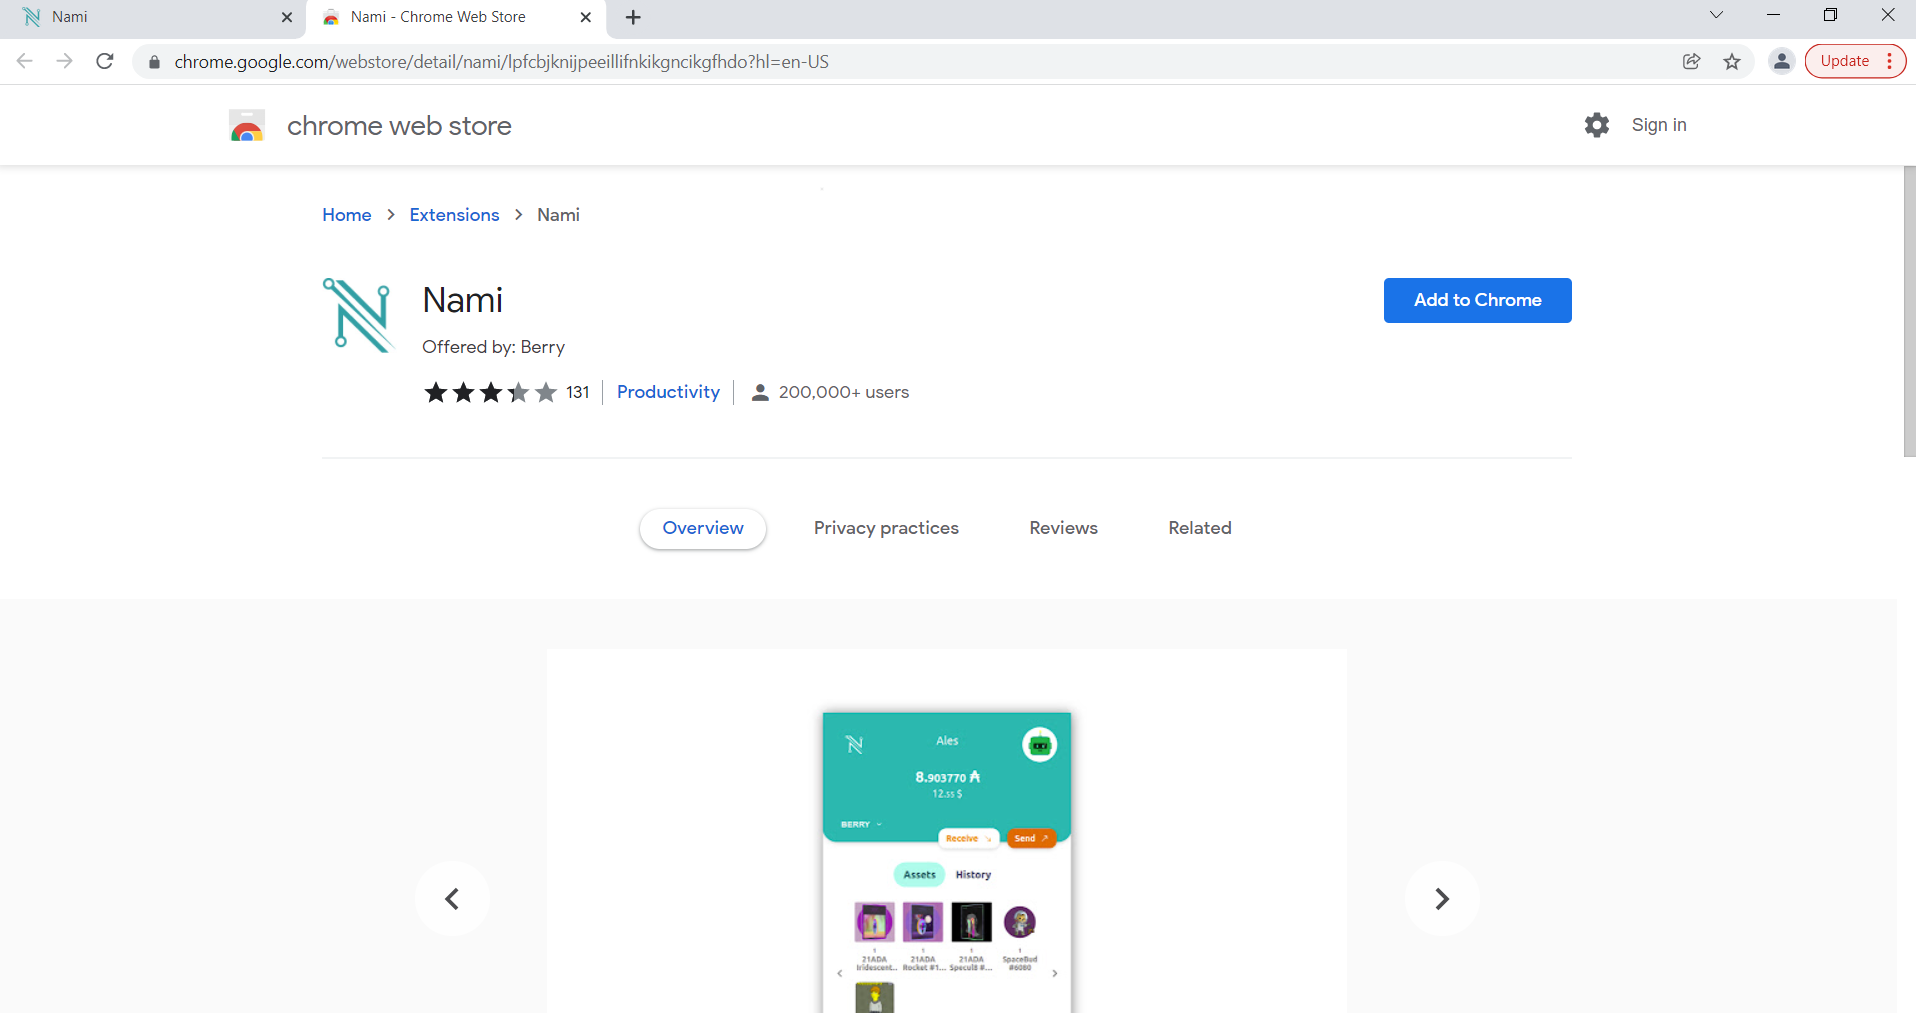
By clicking on the Chrome icon, you will be taken to the Chrome web store. From here you will click on “Add to Chrome” button.
Step 3:
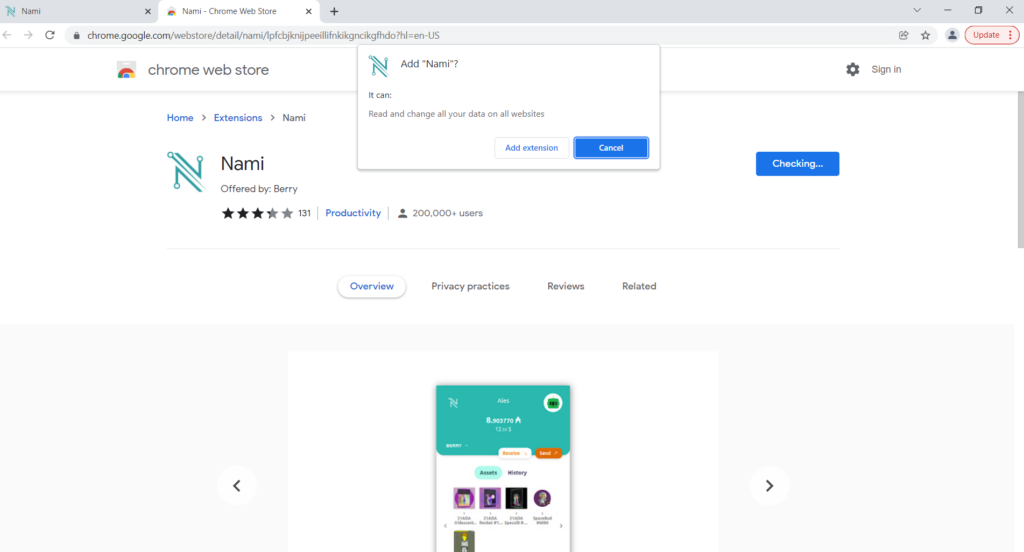
The window will open from which you can choose “Add extension”. You will have to wait a few seconds for the extension to be added.
Step 4:
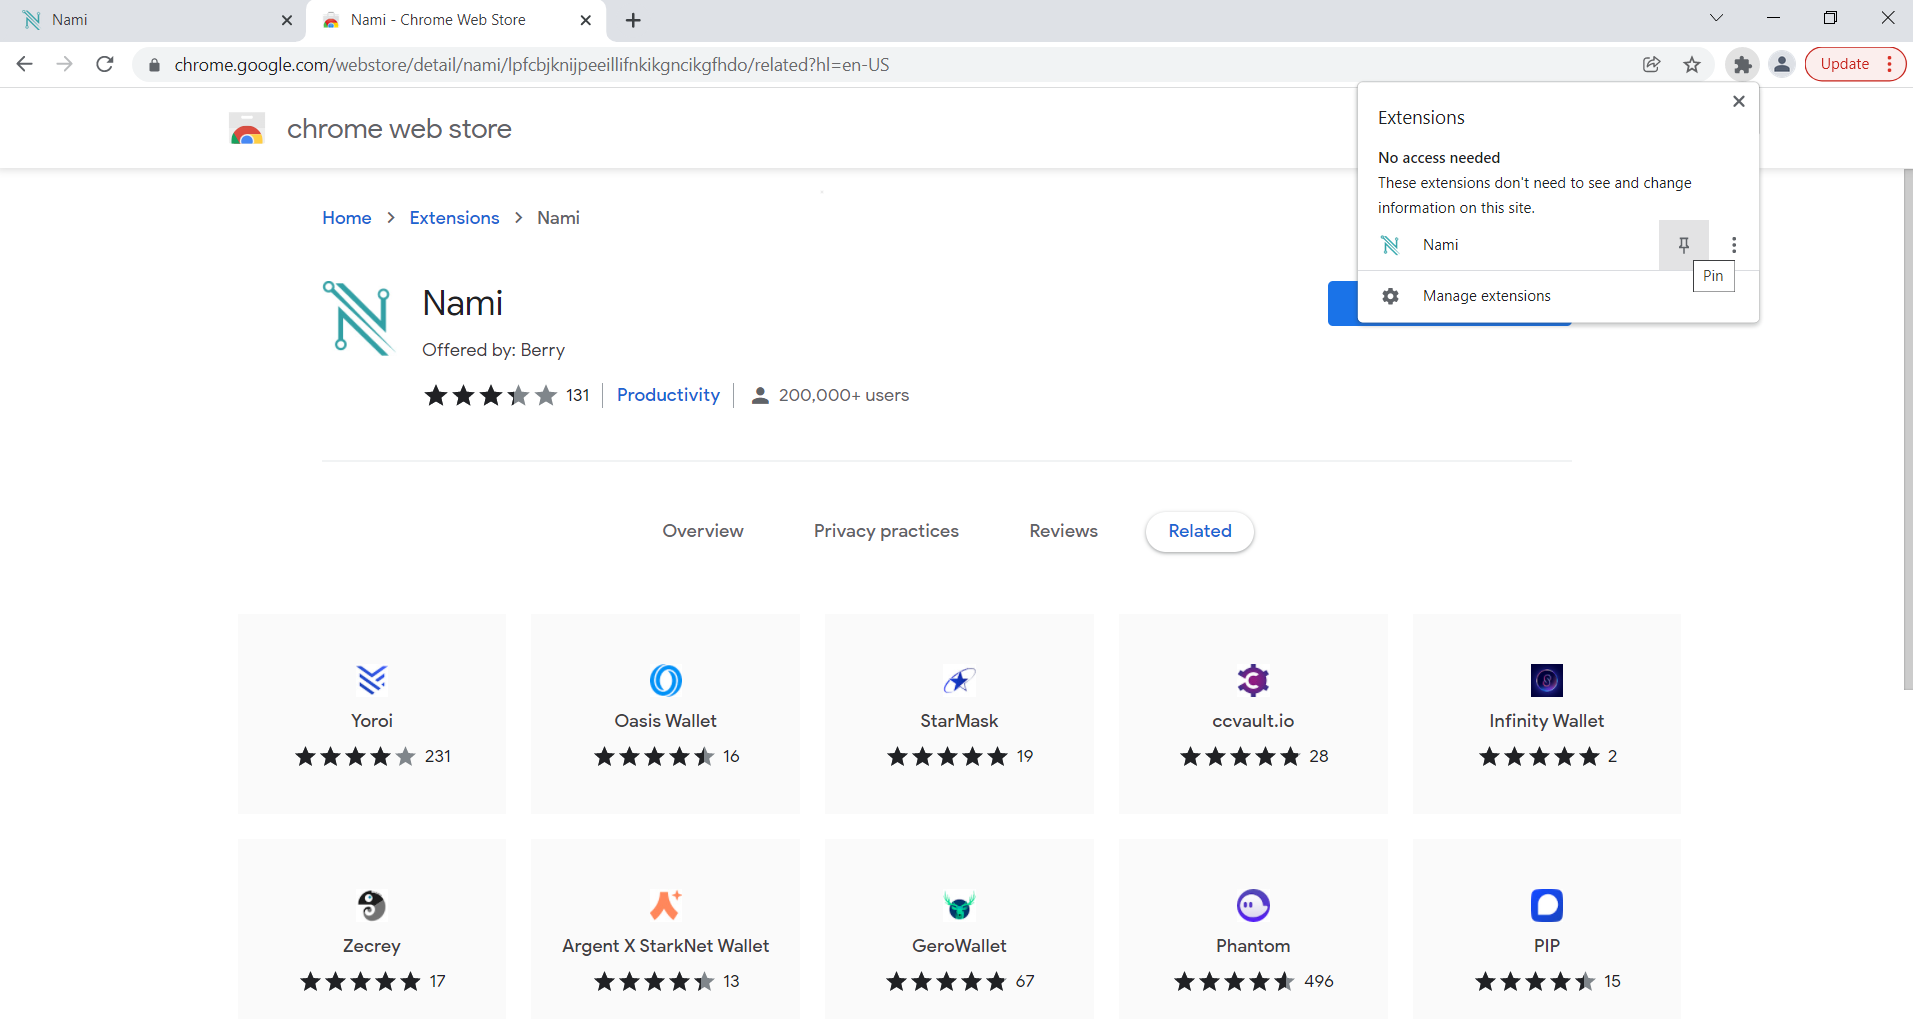
Click on the puzzle icon to manage your extensions and pin the Nami wallet at the top.
Step 5:
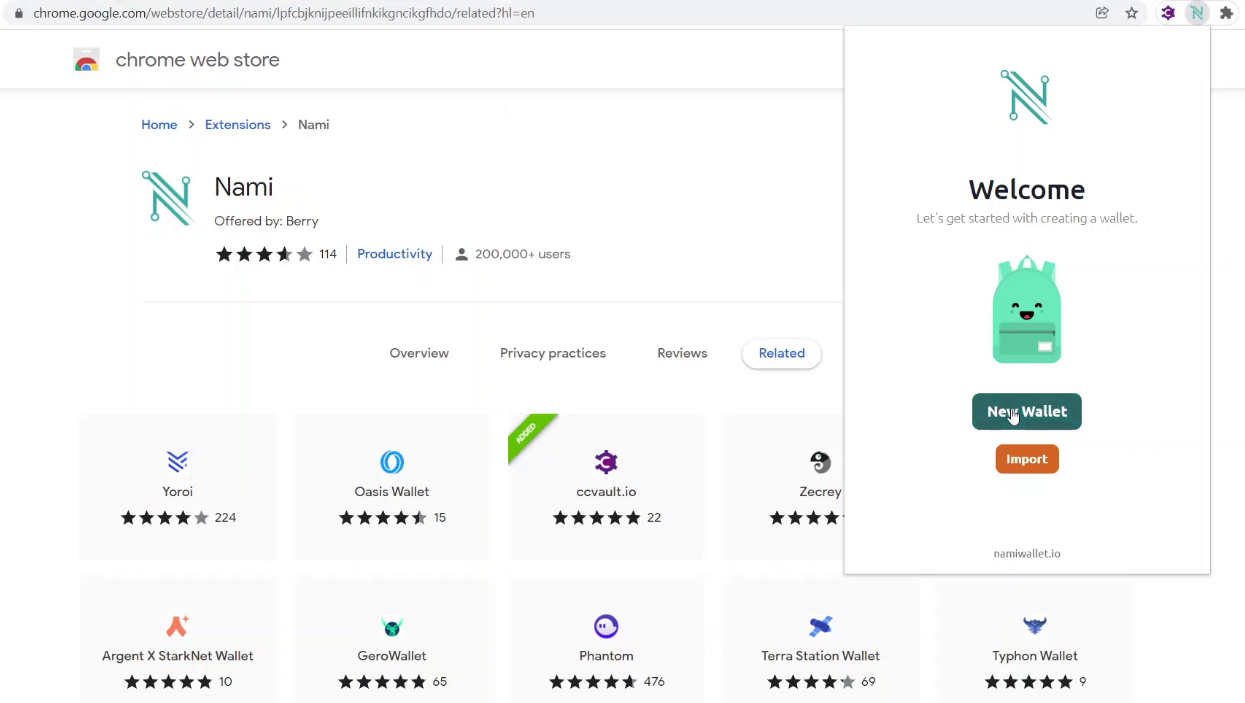
Now that the Nami wallet was successfully installed and pinned to your browser extensions, we can begin the process of creating a new wallet. Click on the Nami icon and choose the “New wallet” option.
Step 6:
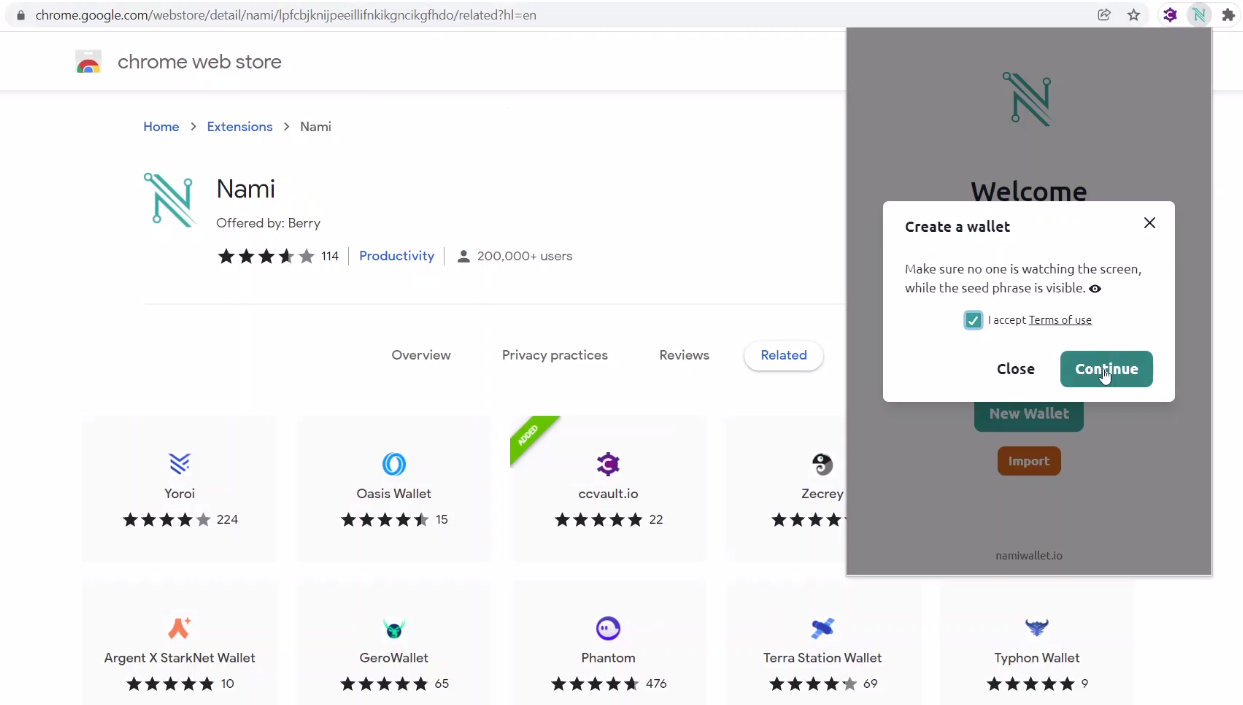
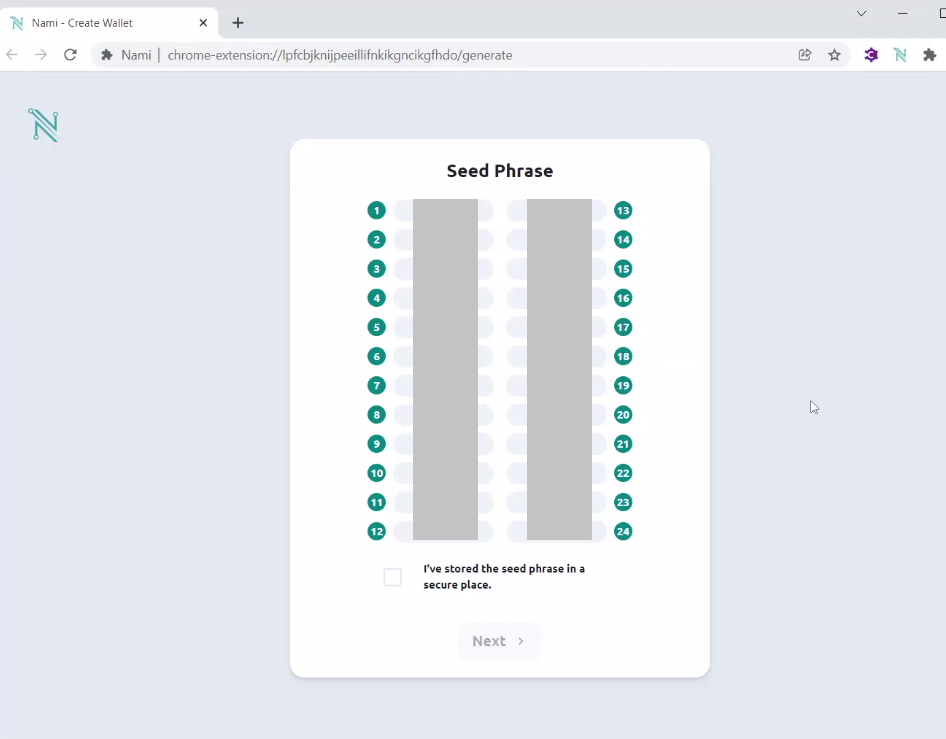
You will see a short disclaimer about privacy during the creation of a wallet. By clicking the “Continue” button we proceed to the next step, in which you’ll see a set of 24 words in a numerical order, called seed words.
Seed phrases are a series of words that are generated by your crypto wallet. The words have their numerical order and are giving you access to that wallet in case you lose your computer or delete the extension. Nami uses 24 words in a specific order while other wallets can use a series from 12 to 24 words. Anyone who has the seed phrase can access your wallet, your funds, and the tokens that are stored in it.
It is very important to keep the seed phrase safely stored! We strongly advise you not to take pictures or screenshots of the words, even to write the words down in notes on your mobile phone.
Step 7:
Write all the words you were given, and be careful to write them in the exact same order. It’s best to write it by hand, keep several versions of it, in case you misplace one of them. After you have your seed words written down and stored safely, tick the box below to confirm it and then click “Next”.
Step 8:
Then you will be asked to confirm some of these words that were given to you on the previous screen. After you successfully fill the blanks in with appropriate words, click “Next”.

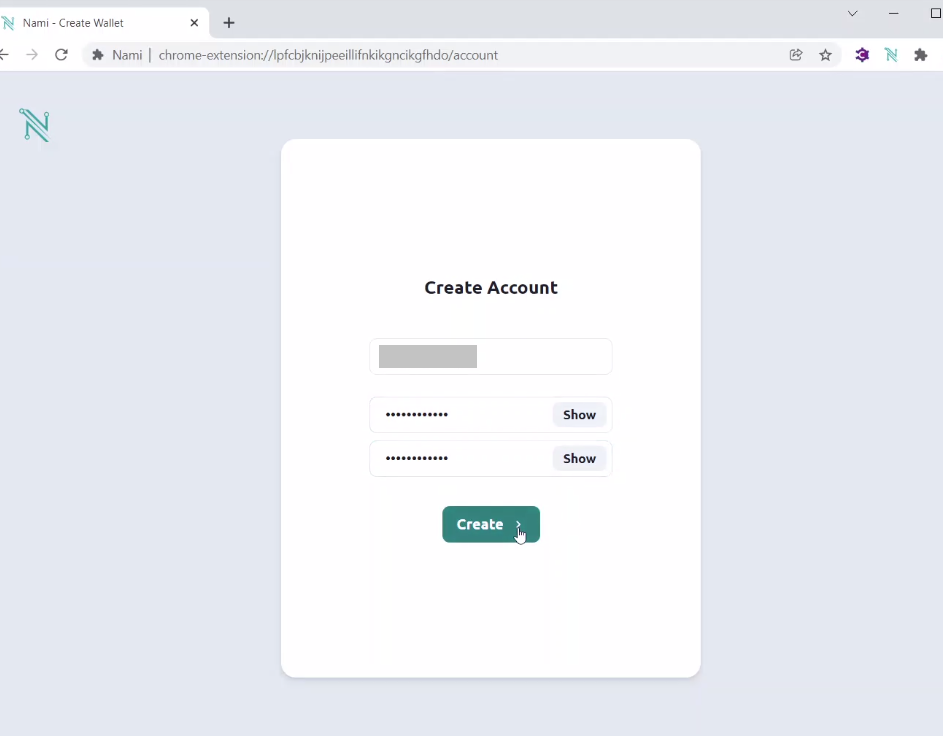
Step 9:
Now, you are asked to create your account and to give a name to your wallet. You need to create your password too. Make sure to write all this information down and store it somewhere safe. After you enter all of the above, click “Create”.
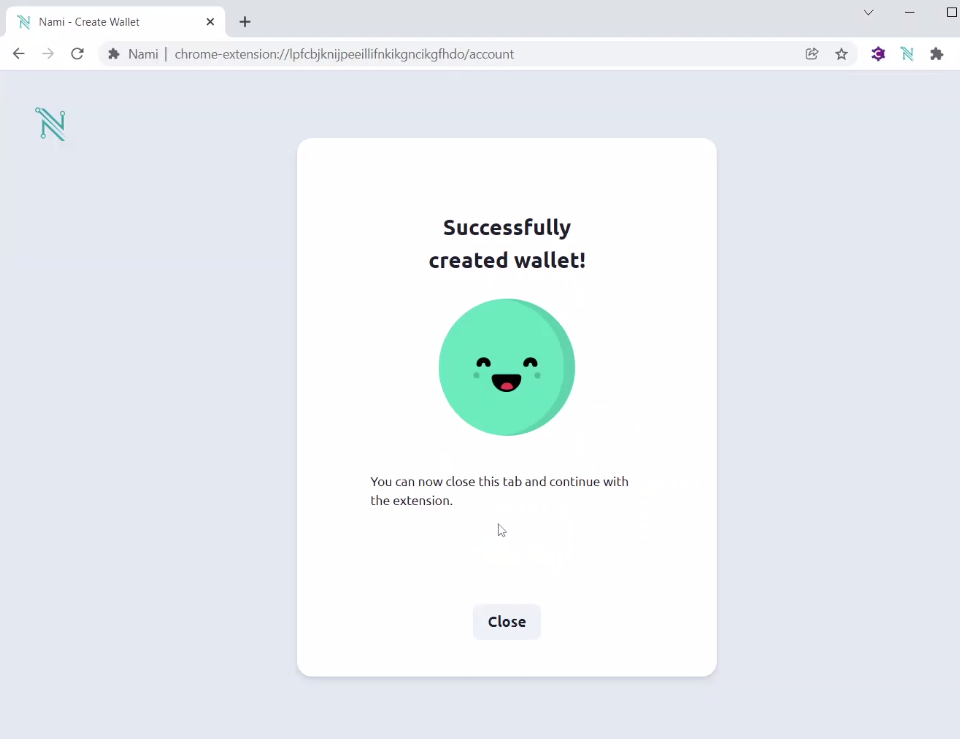
Step 10:
Congrats! You have successfully created the Nami wallet! Your wallet now doesn’t contain any assets. You would want to transfer funds to your wallet to finally have ADA in it. If you wish to see how to deposit some funds from an exchange you can see it in our tutorial.
Create a Cardano wallet - Mobile
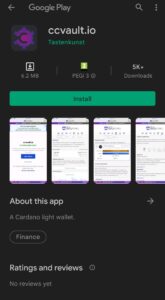
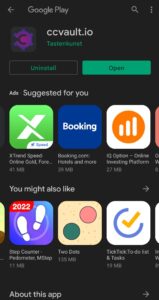
To install a mobile version of a Cardano wallet go to https://ccvault.io/app/mainnet/welcome and you will see the following information on the screen. Under the section “Mobile Apps (no dApp-connector) select either the “App Store (iOS)” version for an iPhone or “Play Store (Android)” if you have an Android phone.
I am doing this tutorial on an Android phone so I will be redirected to the Play Store. Click on Install to download and install the CCVault mobile version.
Wait for the app to install and then click on “Open” to enter the app.
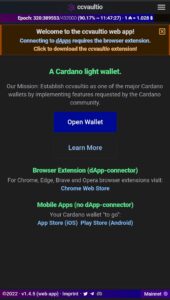
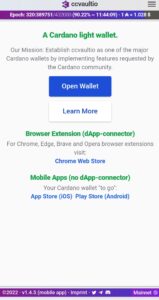
One you’re in the CCVault app you’ll see the following screen, where you’ll select “Open Wallet”.
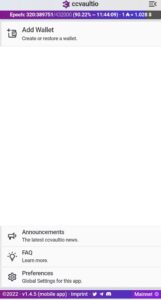
In the next screen select “Add Wallet”
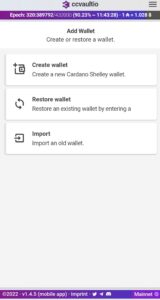
Since you don’t have a Cardano wallet yet, click on “Create wallet” to open a new one.
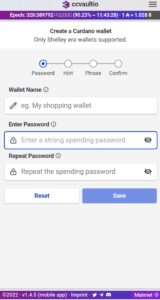
You will be prompted to add a wallet name, enter a spending password and confirm the spending password. I will name this wallet “My Artano Wallet”, but you can give it any name you’d like. Make sure to write down your spending password as it will be used as a ‘digital signature’ to confirm transactions you initiate. If you would like to transfer funds to someone or obtain some digital assets such as NFTs you’ll be asked to type in this spending password to confirm the transaction.
One that is completed, click on “Save”
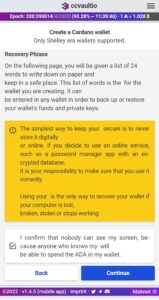
This screen elaborates more on the importance of the Recovery Phrase which you are about to see in the screen right after this one. Depending on the wallet you’re opening, you will see either a 12 word recovery phrase or a 24 word recovery phrase in the case of CCVault. The most important part when opening a wallet that will store your funds is to write down the recovery phrase in the exact same order as the one the screen displays.
On this screen simply confirm that nobody can see your screen, and then click “Continue” to move to the next one where you’ll see your unique recovery phrase.
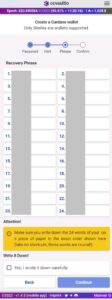
Then do as per instructions in the yellow bar, “Make sure you write down the 24 words of your recovery phrase on a piece of paper in the exact order shown here (take no shortcuts, those words are crucial!).”
Once you have your recovery phrase written down and safely stored, confirm that at the bottom of the screen and proceed to the next step by selecting “Continue”
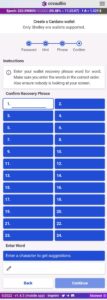
In the next screen you’ll be asked to type in your recovery phrase, word by word, to make sure you have written down each word correctly. As per instructions at the bottom of the screen “Enter a character to get suggestions”, start typing the word and the system will offer you the word you’re trying to enter. Click on that word to confirm it and move on to word no.2 and so on until you have confirmed each of the 24 words from the previous screen in that exact same order. Once you’re done, click “Confirm” and that will get you to the final screen.
Now you can see that we have successfully created a wallet called “My Artano Wallet”
Sending ADA from Coinbase to a Cardano wallet - Desktop
Welcome back fellow Artanian! One more step towards full participation on Artano!
This is the third guide in our Artano Walkthroughs series. In this article, we will explain how to send ADA from an exchange (Coinbase) to your Cardano wallet. Remember, you can only get
After you bought ADA, it is time to transfer it into your Cardano wallet. If you don’t have a wallet for Cardano yet, make sure to create one. You can choose from the following wallets:
- Nami wallet (Light wallet) - https://namiwallet.io/
- CCVault (Light wallet) - https://ccvault.io/app/mainnet/welcome
- Flint (Light wallet) - https://flint-wallet.com/
- Gero (Light wallet) - https://gerowallet.io/
- Yoroi (Light wallet) - https://yoroi-wallet.com/#/
- Daedalus (Full node wallet) - https://daedaluswallet.io/
We have a tutorial how to create a Nami wallet, be sure to check it out on the upper guides.
To start, you should first login to your Coinbase account. After you have logged in, in the left pane of your window click on the “Pay” section.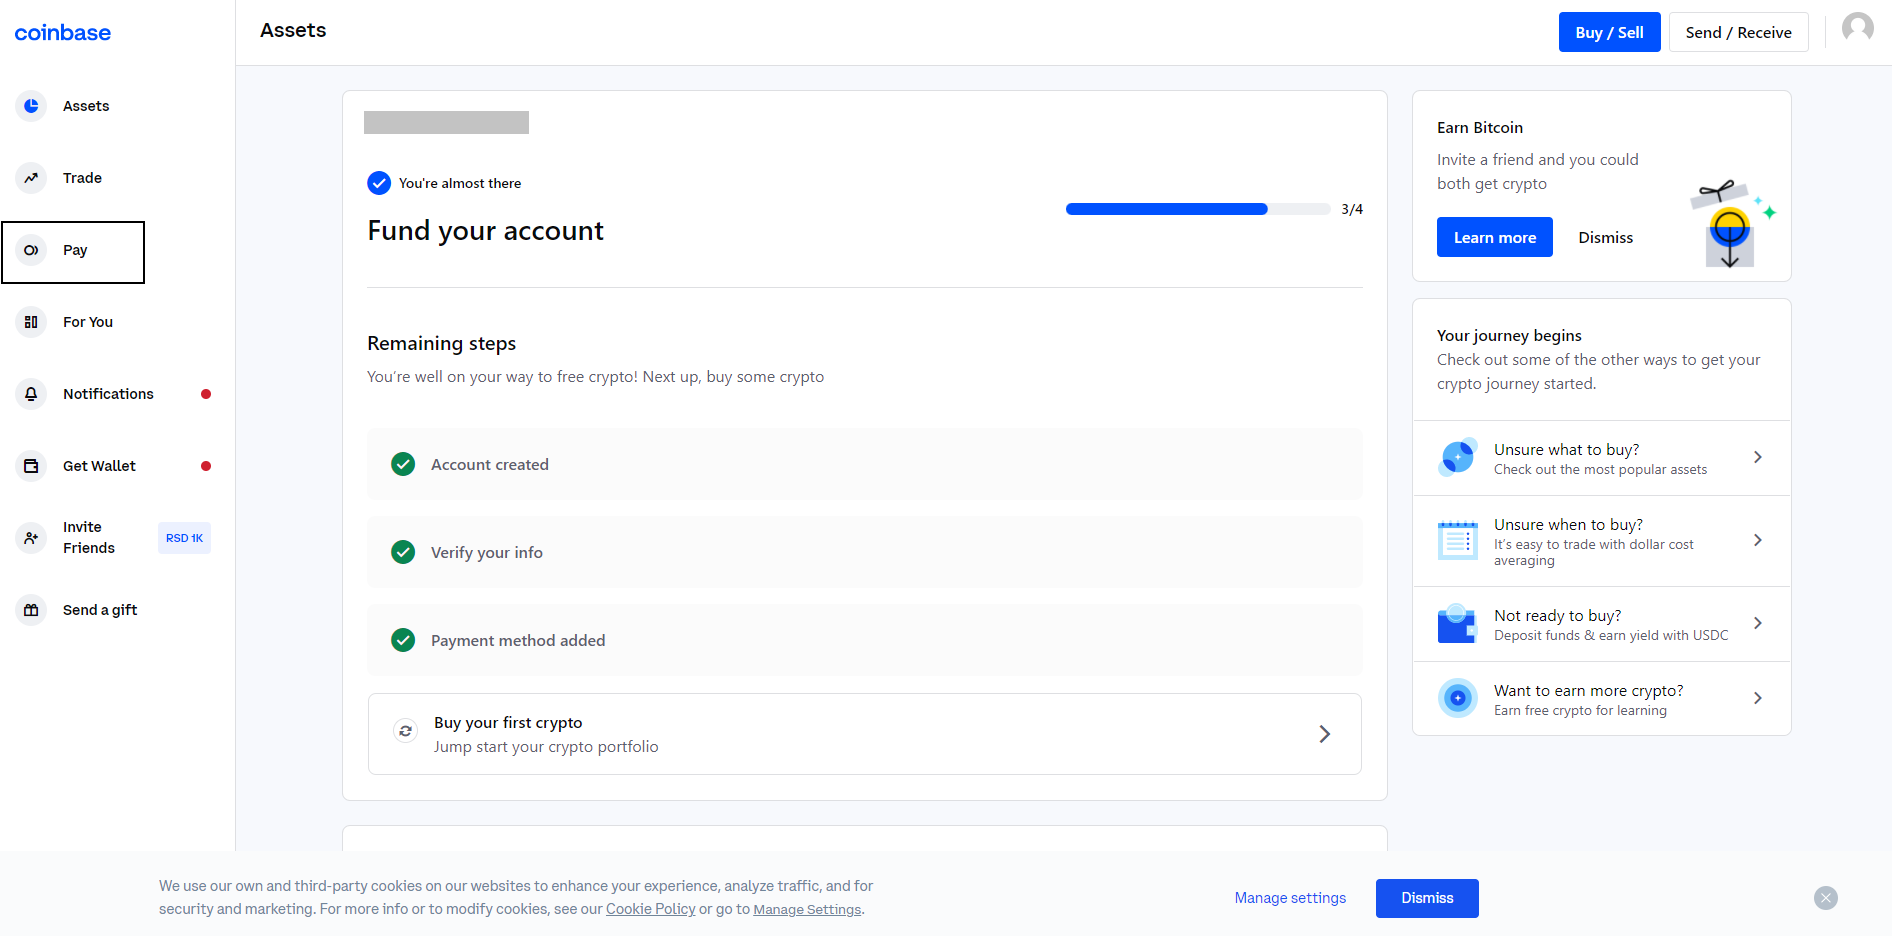
To send ADA from Coinbase to your Cardano wallet, click on the “Send” tab, and select the amount of ADA or fiat currency you would like to send from your Coinbase account. You can see that I selected “Send all” because I want to transfer all the ADA I have in my Coinbase account to my Cardano wallet.
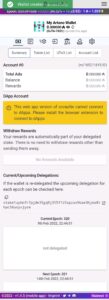
The next step is to go to your Cardano wallet, as you can see in this screen I am using a browser based Nami wallet, which is a light wallet on Cardano. Since I would like to receive ADA to my Cardano wallet, I will click on the “Receive” button. When you click on the “Receive” button, you will see a QR code along with the address of your wallet. You should click on the copy icon to copy the address, that will show you a fast pop up that you have copied your receiving address.

After you have copied the receive address from your Cardano wallet, paste the address into the “To” field, because here you have to specify which wallet address you would like to send the funds to. Then click on “Confirm” to confirm that you would like to go forward with this transaction.

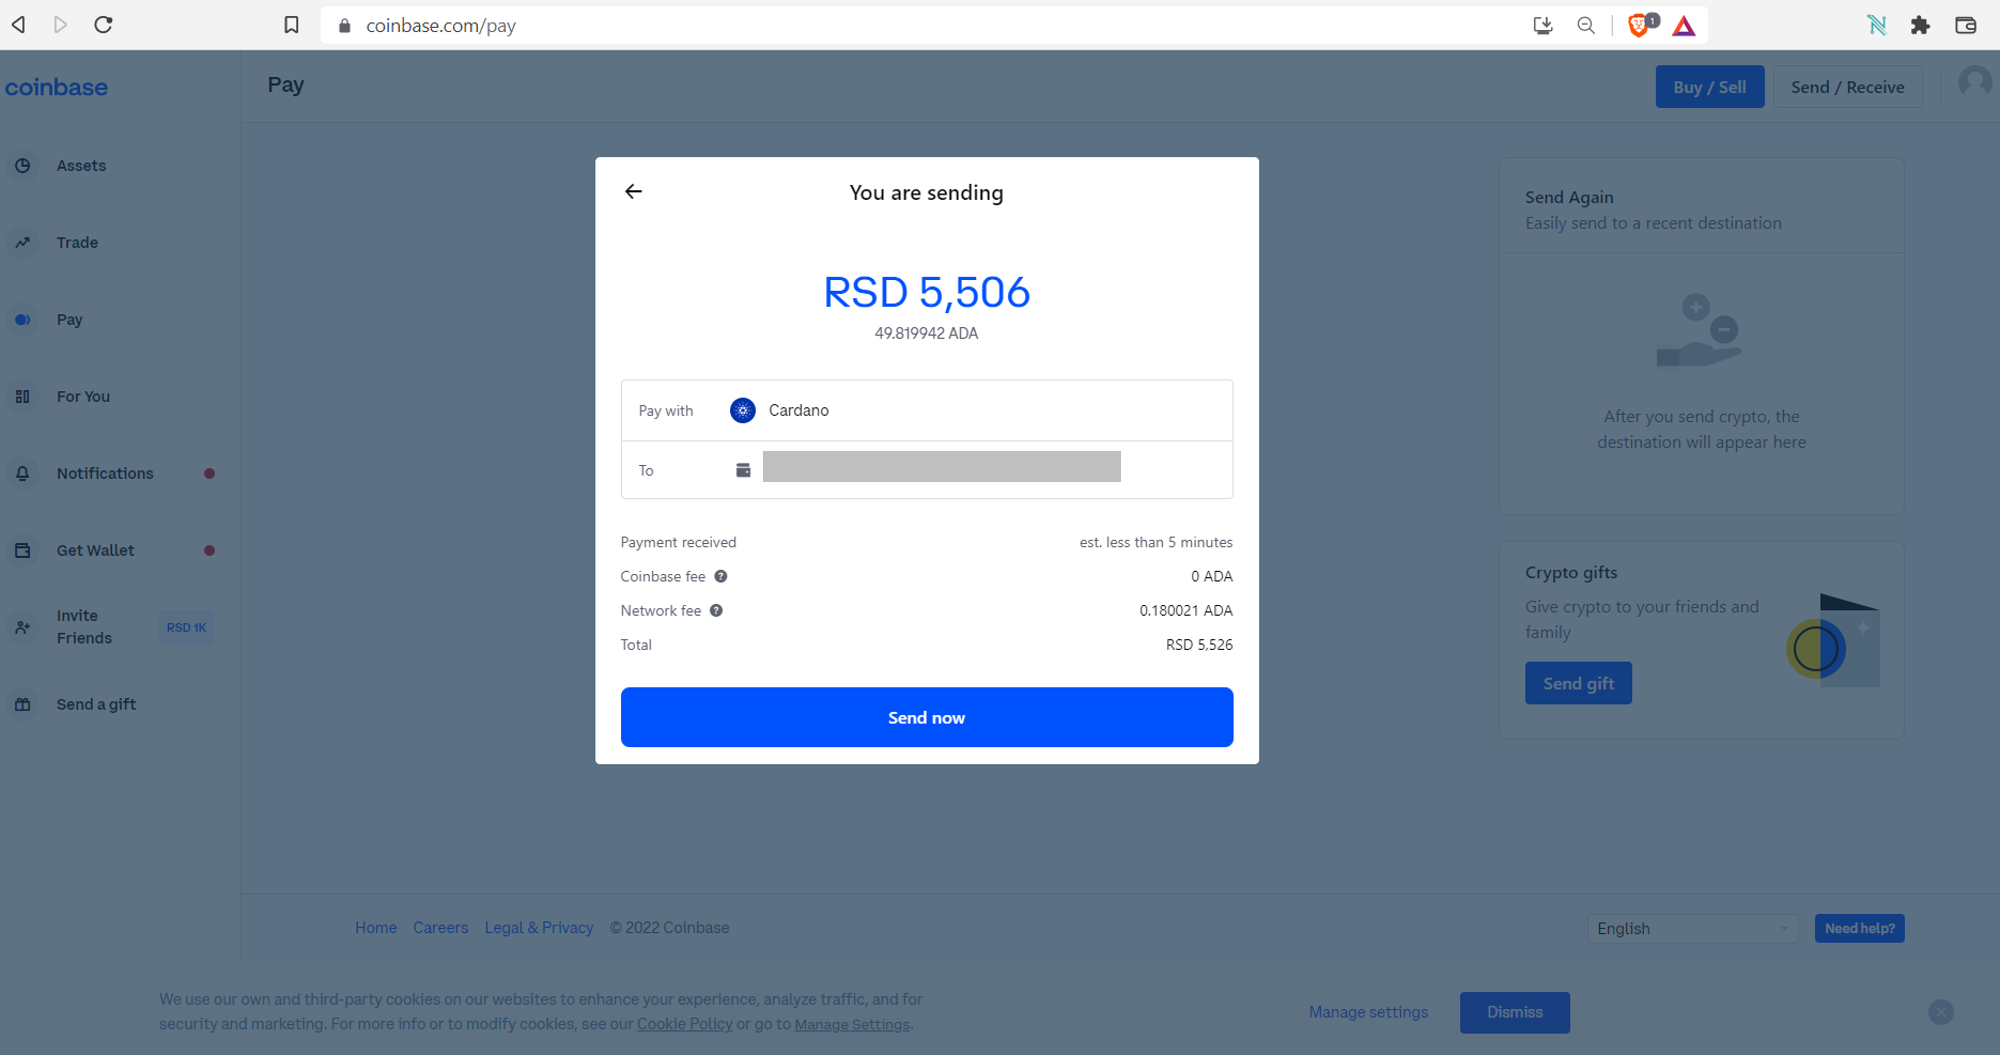
In the next window Coinbase would give you an overview of the cryptocurrency you’re sending, the address you’re sending it to, the fee on this transaction, how much ADA you are sending and what is the equivalent of your transaction in fiat currency. If you agree that you would like to proceed with the transaction, click on “Send now”.
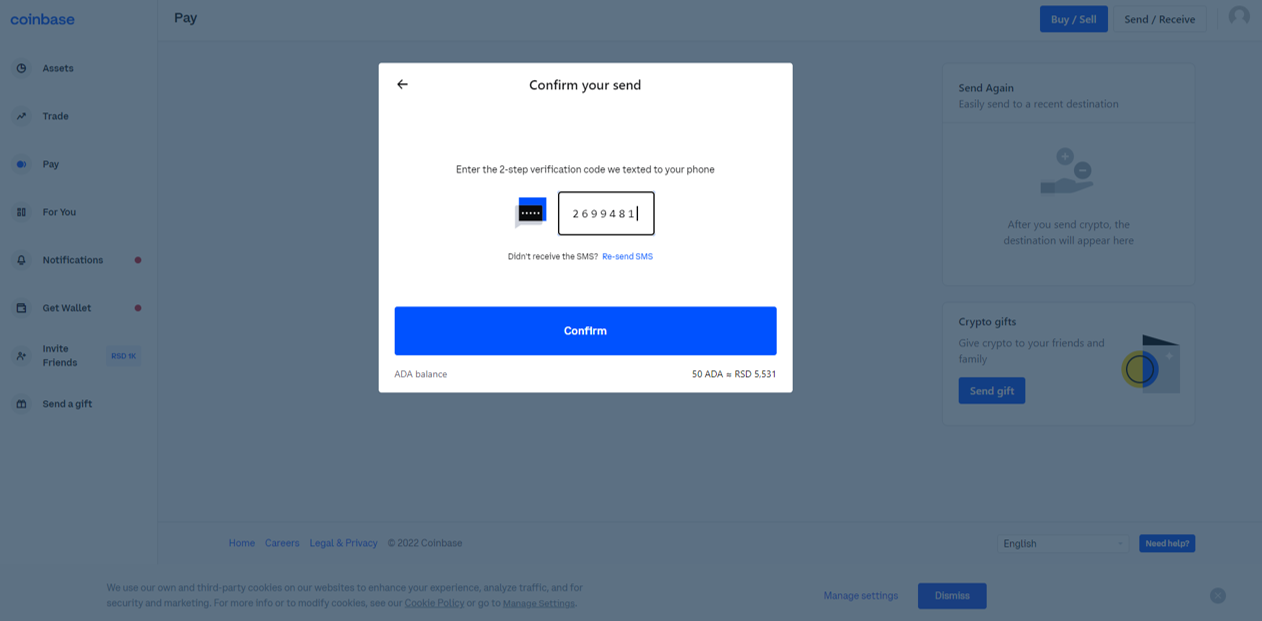
For extra security measures, Coinbase will ask you to confirm that you would like to continue with the transaction by typing in a verification code that they sent to your mobile phone. Once you receive the code, type it in and confirm.
Depending on the congestion of the blockchain at the time of sending, it can take anywhere from 10 minutes to 1 hour for the funds to appear in your wallet.